Thrift Store Hifi
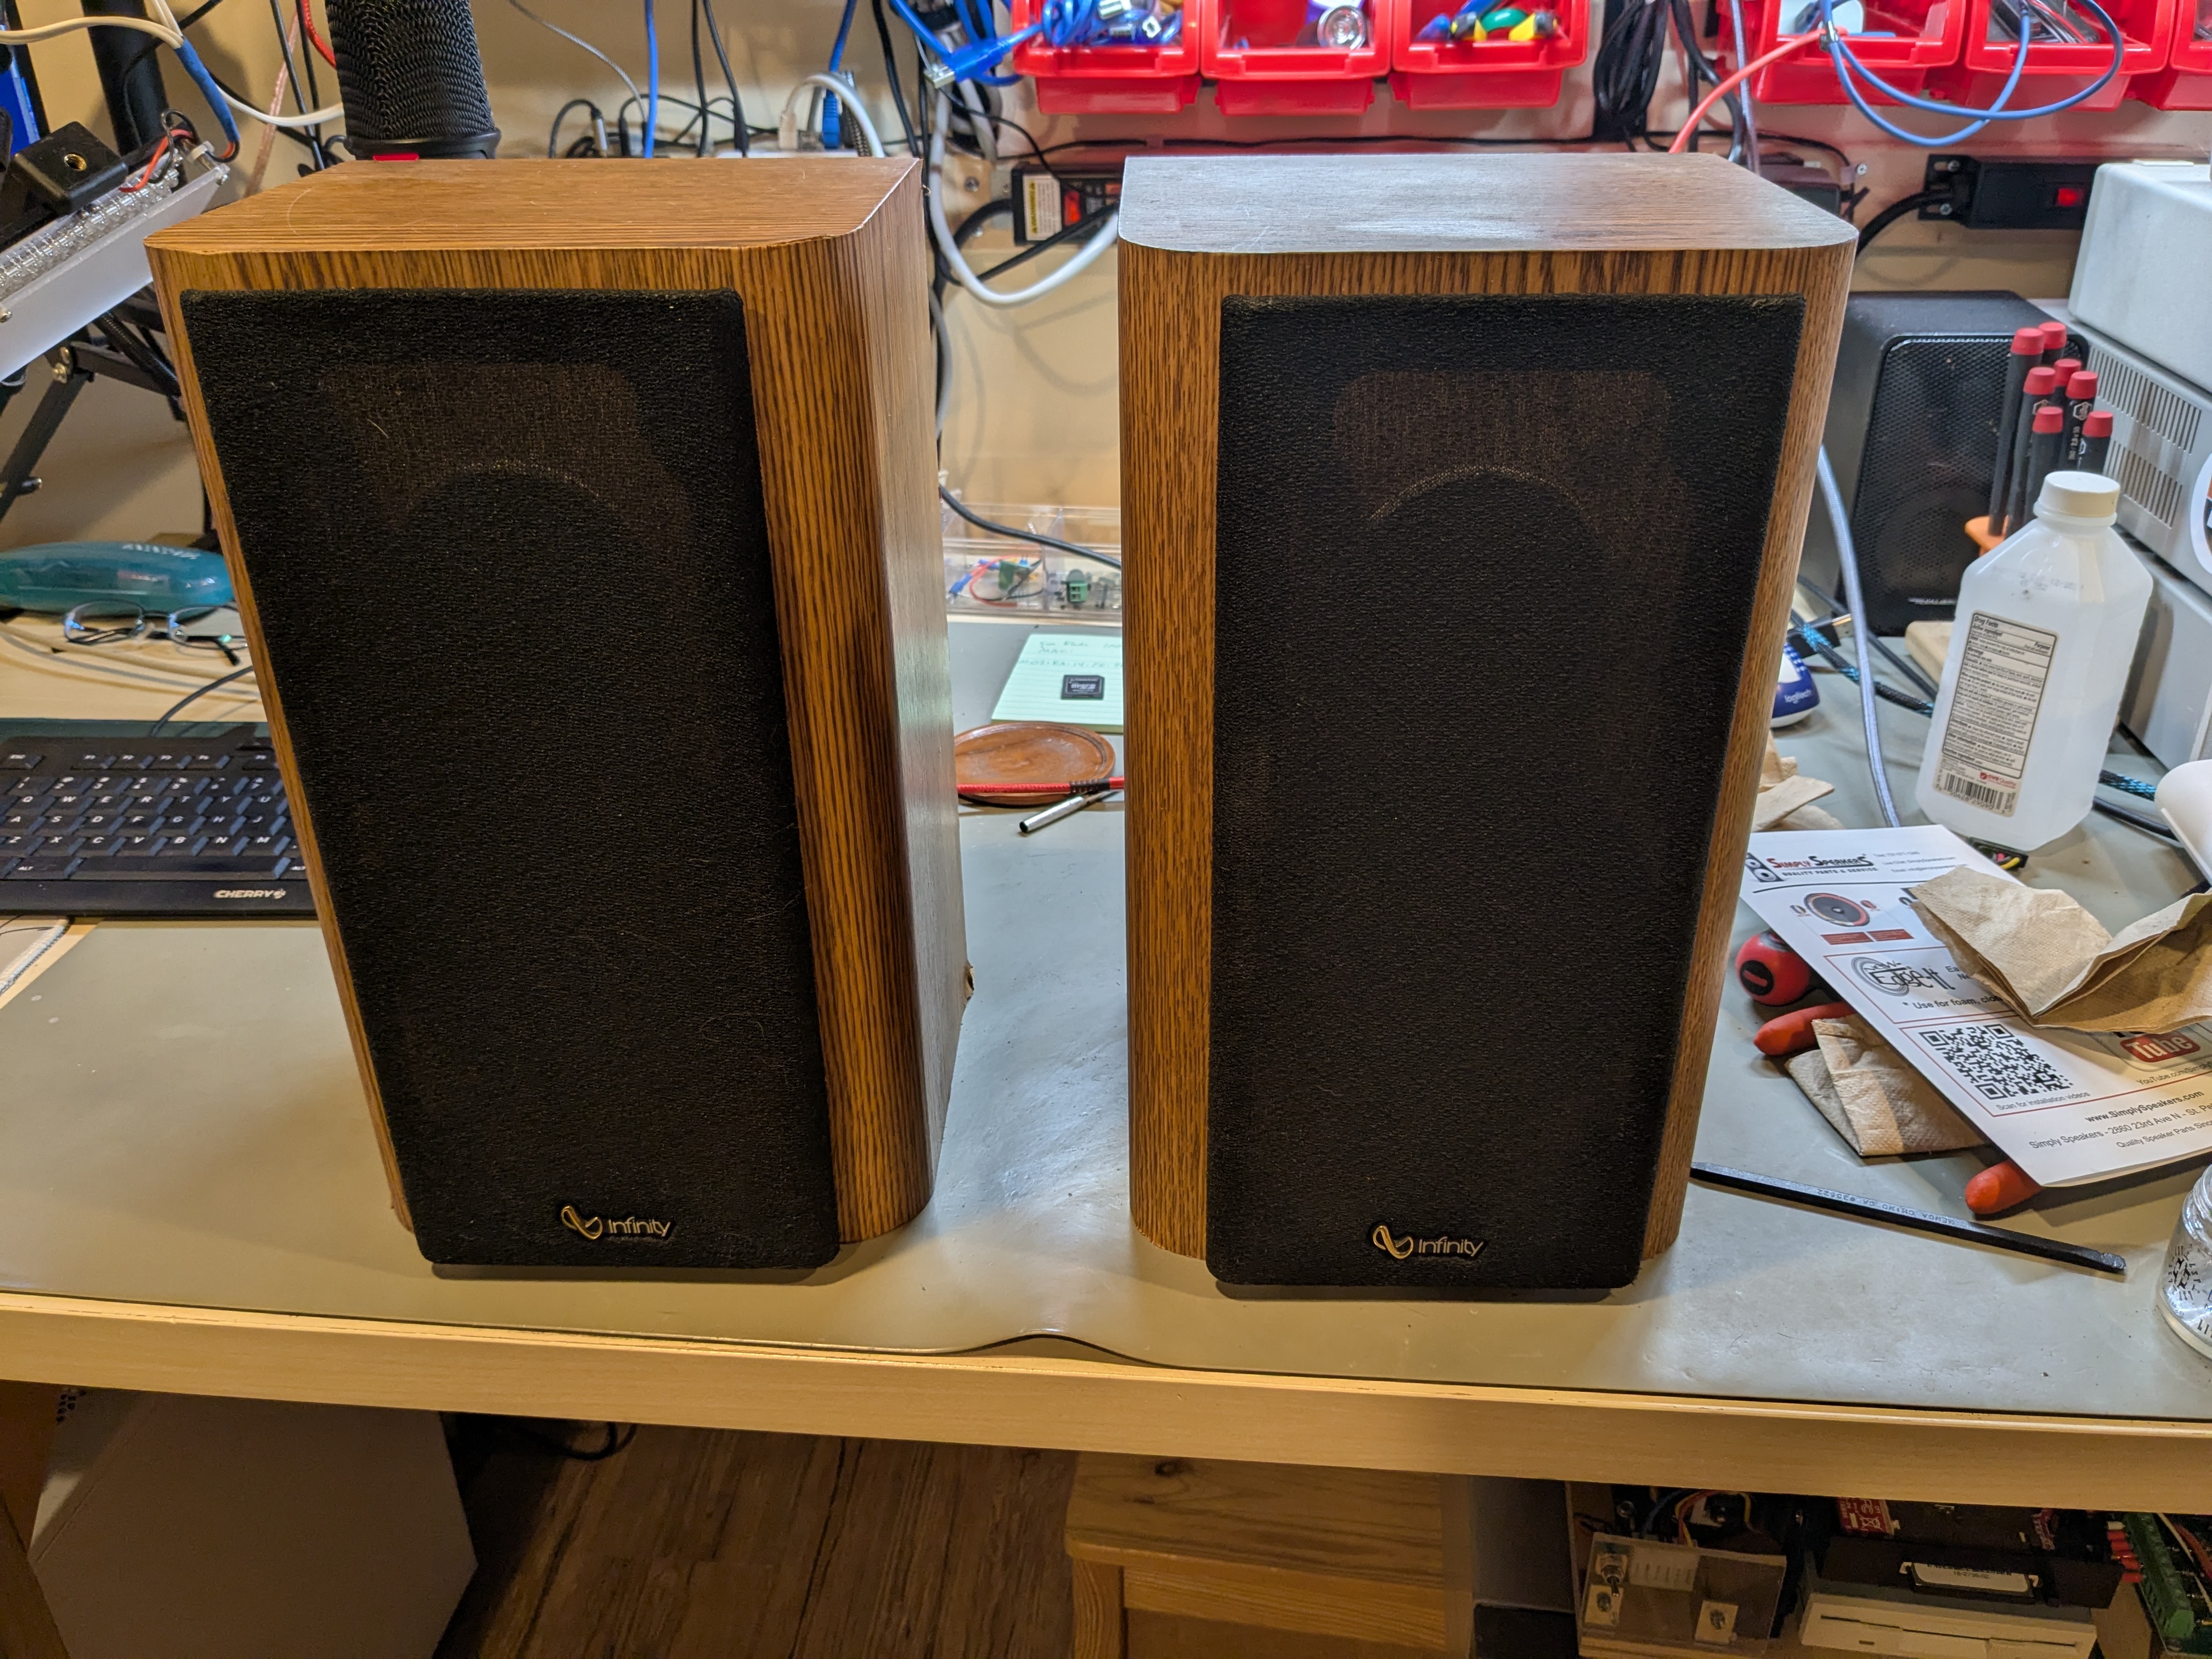
In 2023 I got a bit obsessed with component stereo systems. The time-honored approach to building a component stereo system in this modern era where people don’t actually use component stereo systems is to check out thrift stores. In June of 2024 I saw a pair of Infinity RS 1001 bookshelf speakers at our local Salvation Army store, which I immediately bought for $5 for the pair. They aren’t anything too special, but Infinity is a fairly well-regarded brand and I figured I’d be able to put them to some use.
These speakers are (based on some cursory web searching) from the late 80s or early 90s, so of course the foam surrounds on the drivers were crumbling. The foam surround is a flexible circle of foam rubber which connects the speaker cone to the speaker frame. When it disintegrates, the speaker cone isn’t able to move air efficiently and you lose low frequencies. The good news is that you can buy refoam kits which, with some effort, allow you to bring the speakers back to life.
This blog post documents my amateurish effort to refoam the drivers in my RS 1001s. I used a refoam kit from Simply Speakers. They have some good instructional videos on youtube which guides you through the process, if you actually bother to follow their instructions.
Step 0: Fixing the grille frame
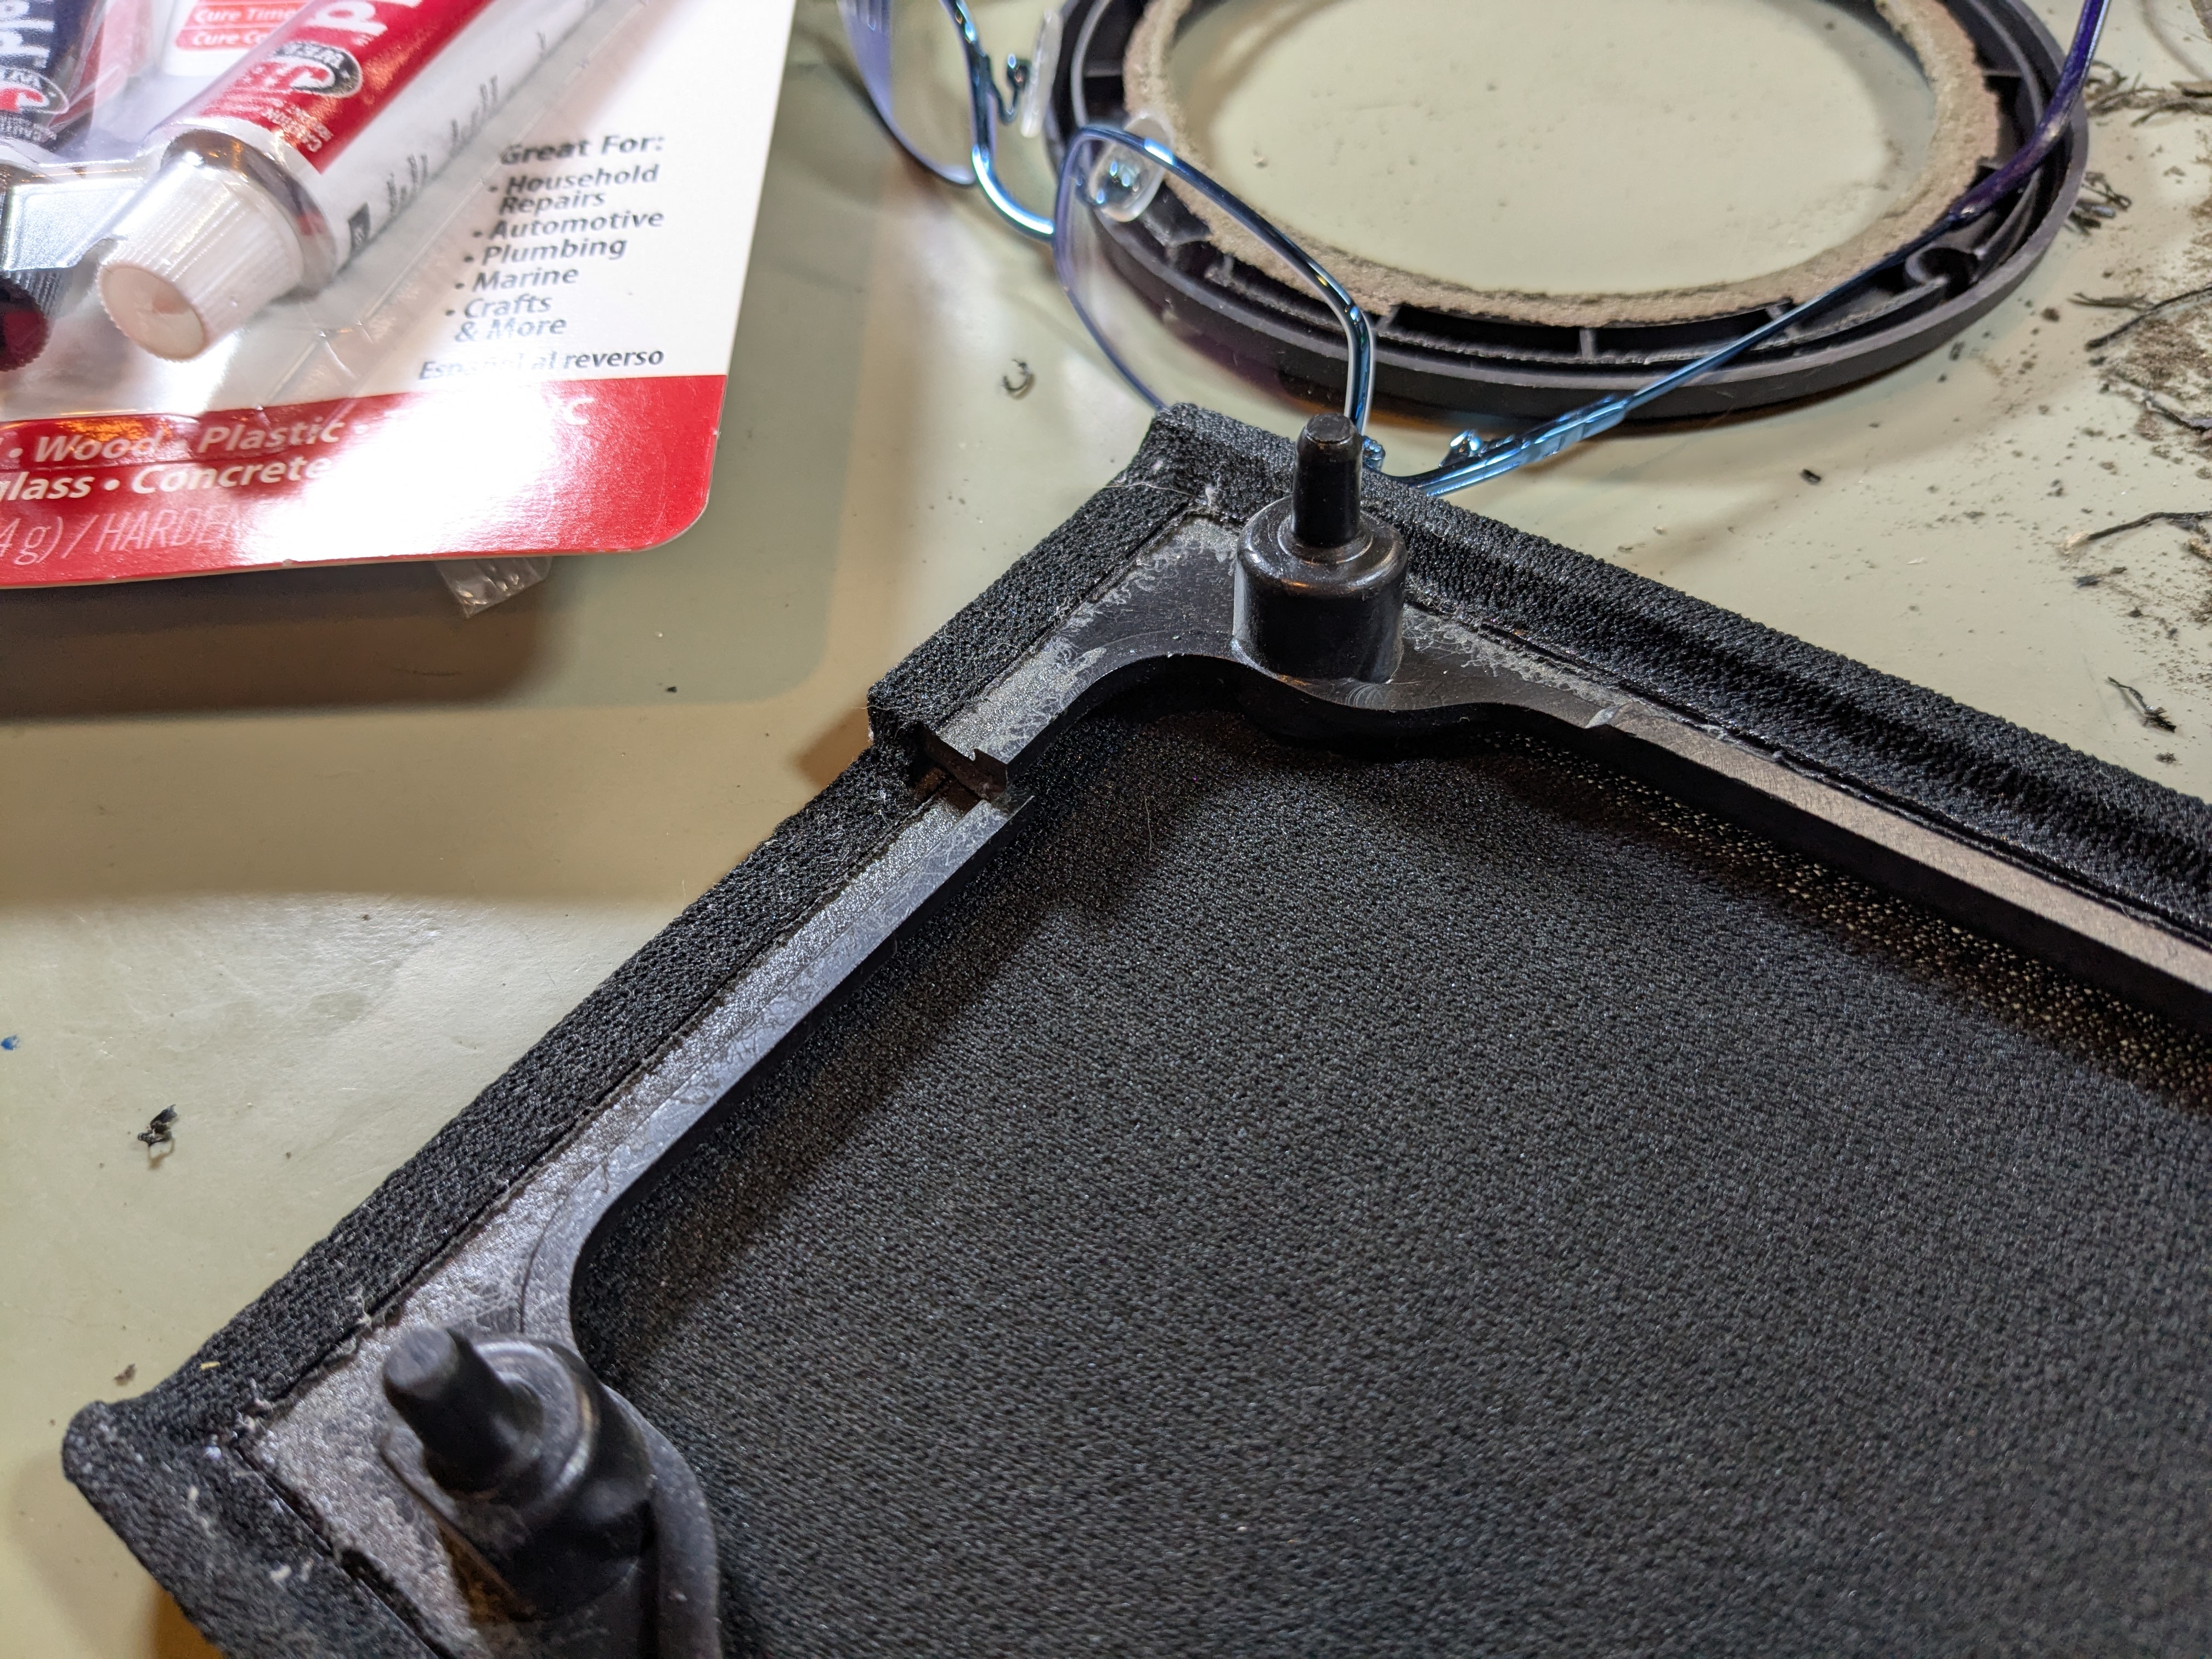
Before working on the speakers, I addressed an issue with the plastic frame that holds the grille cloth on one of the speakers, which had a crack in it:
Thankfully, the trauma that cracked the frame didn’t rip the grille cloth. I used some JB Weld epoxy to repair the frame, using a scrap piece of plastic as a brace:
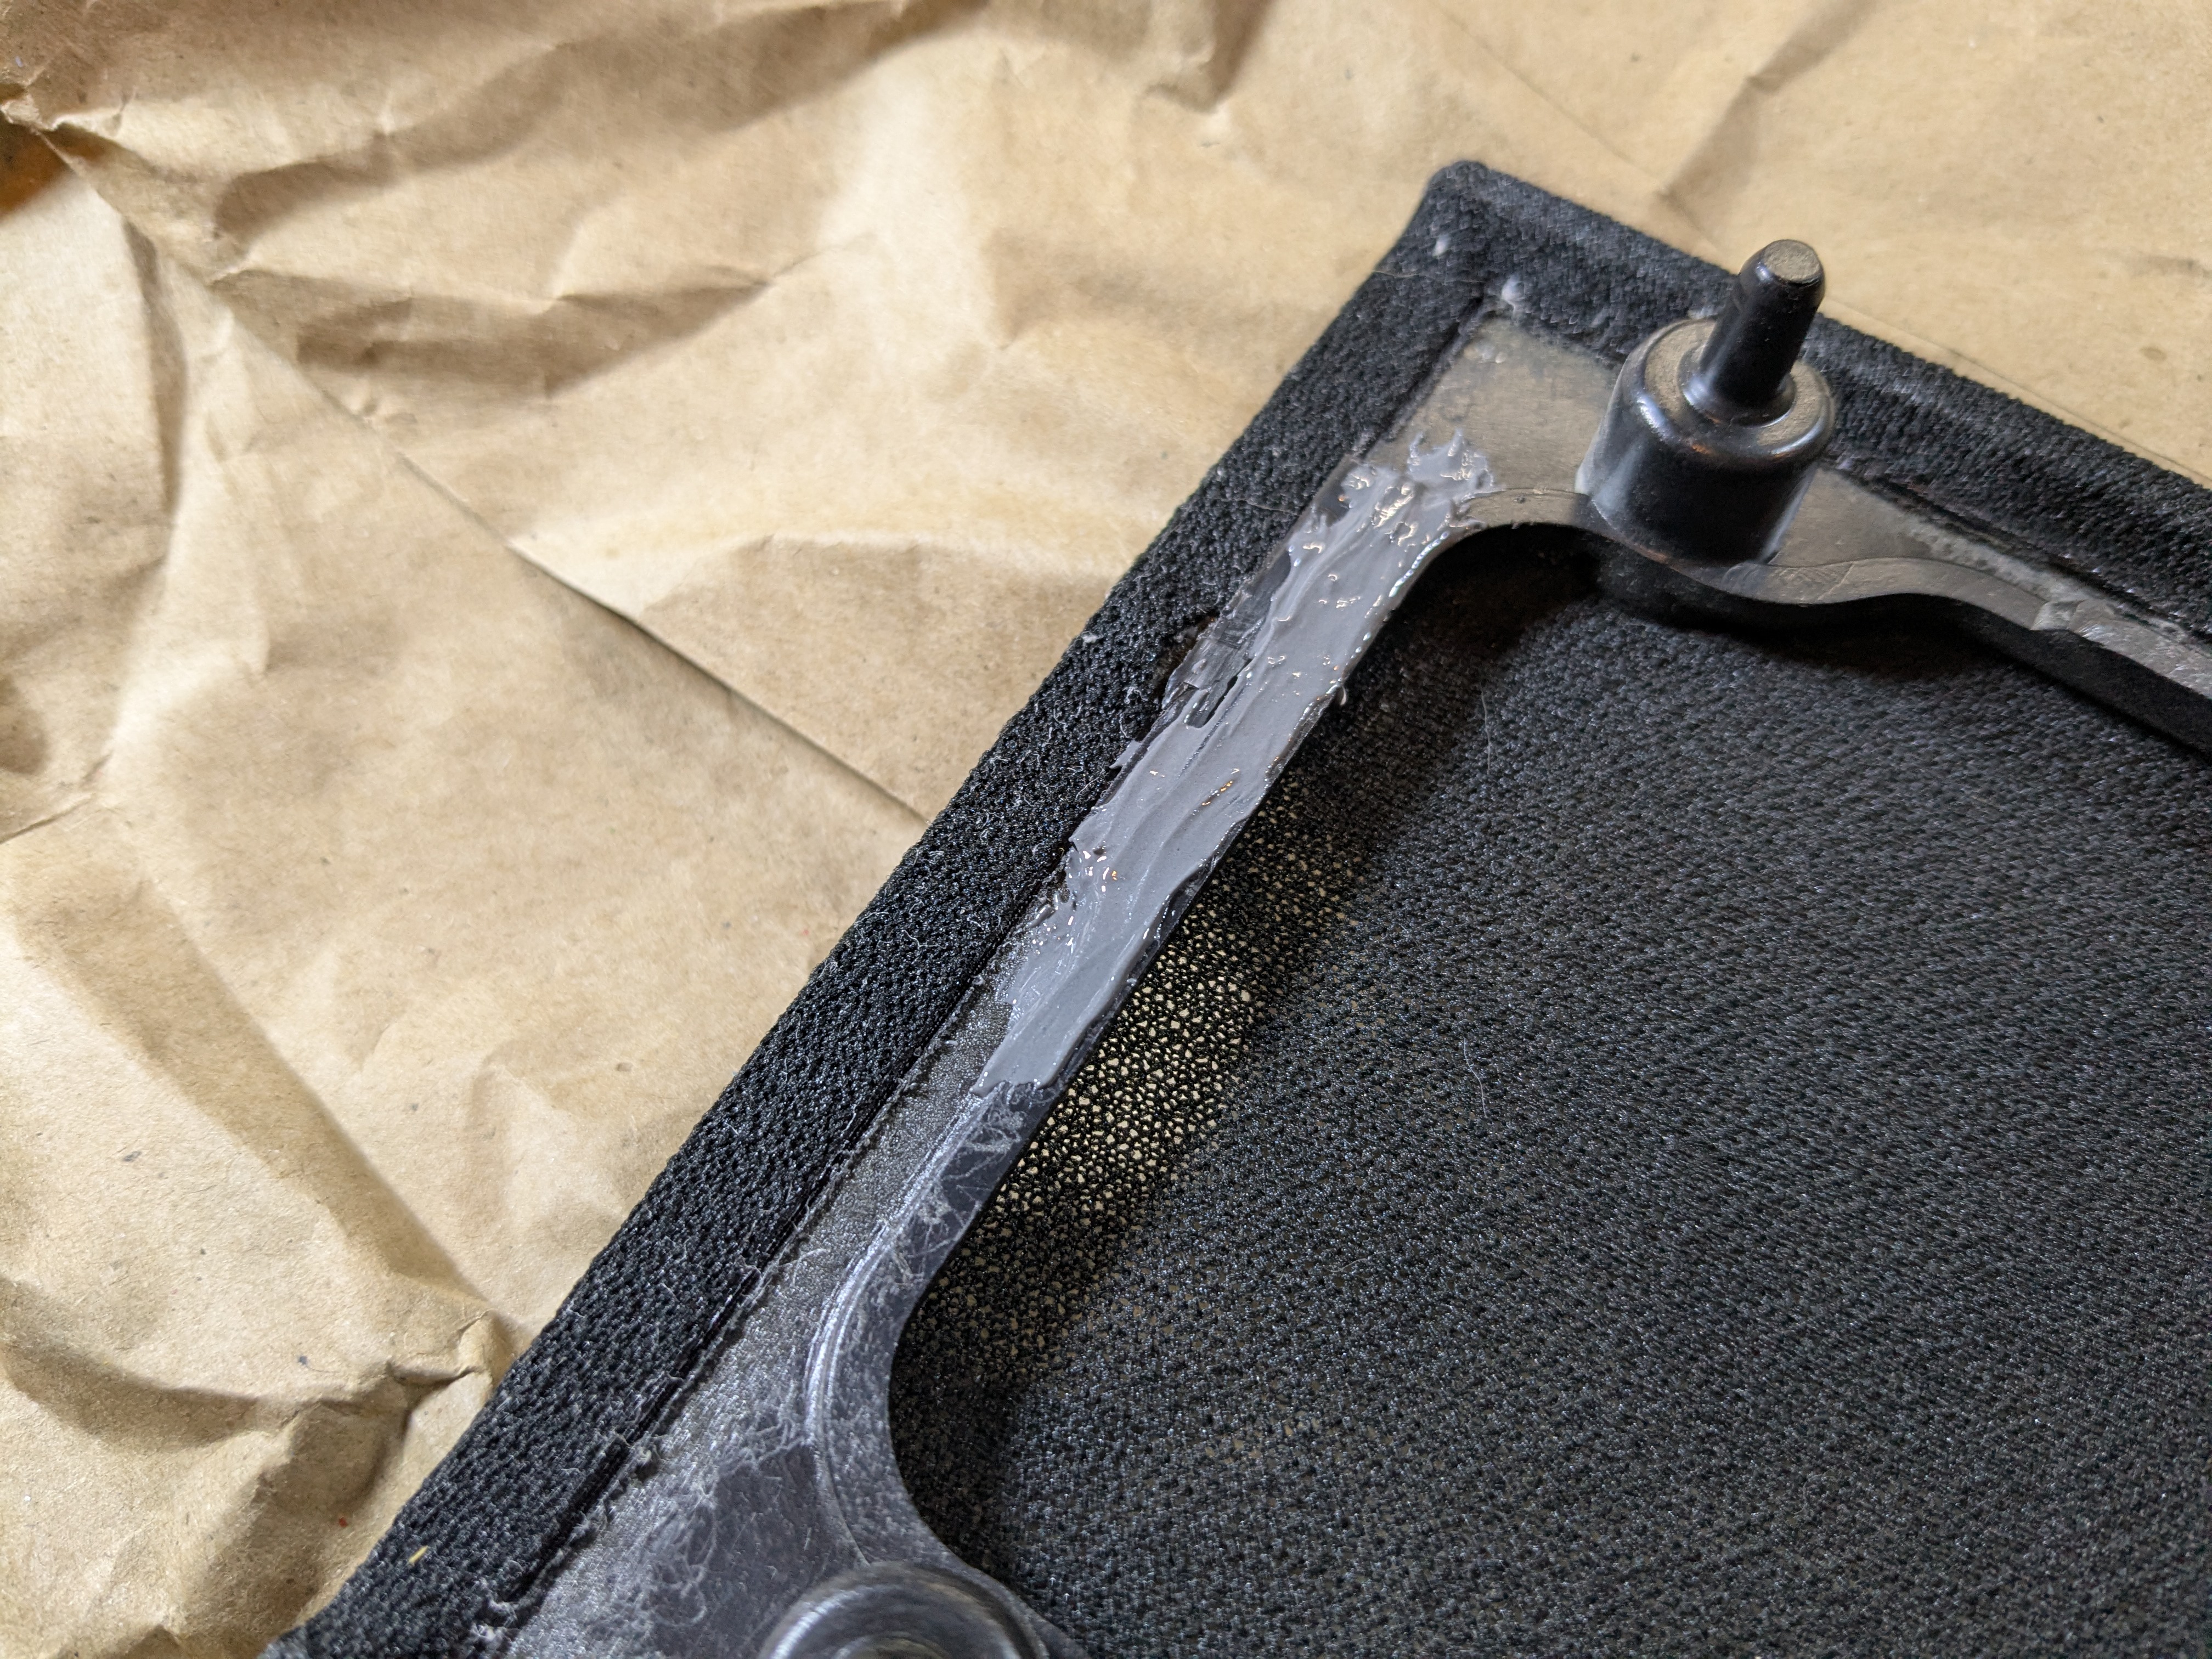
After drying the repair seems strong, and the repair won’t be visible when the grille is back on the speaker.
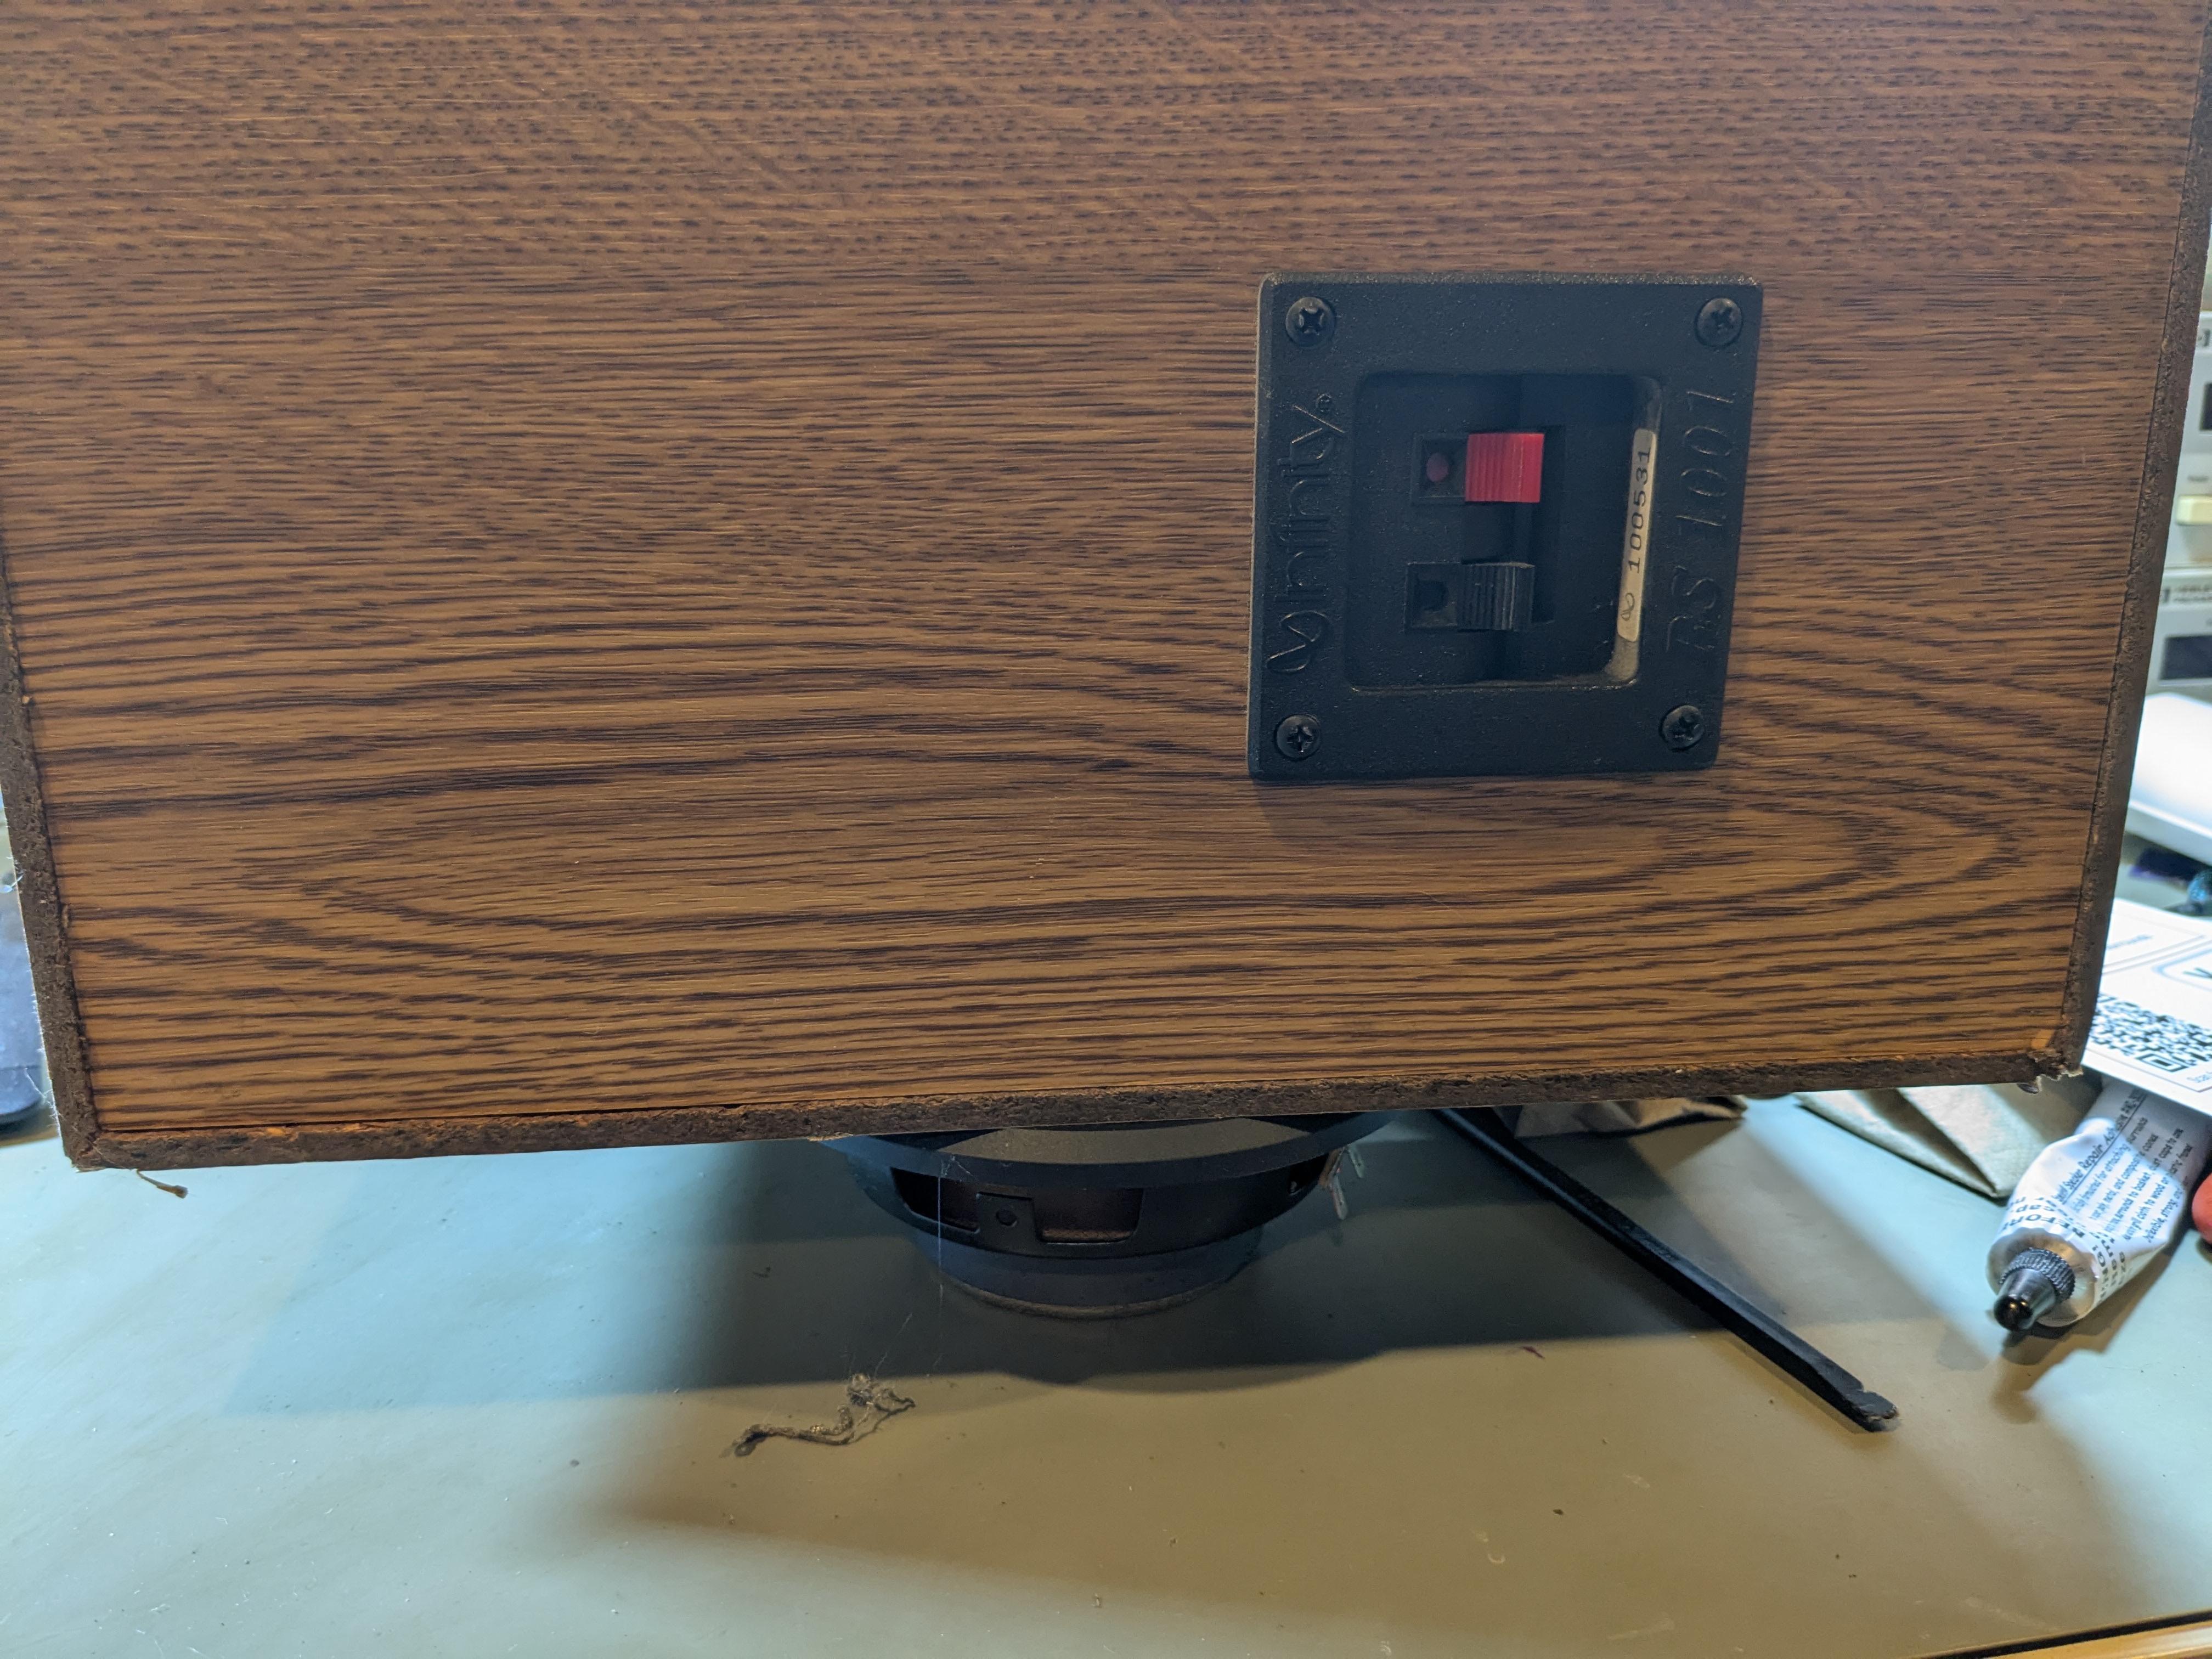
Step 1: Remove the drivers
To remove the drivers, you need to unscrew the four screws holding the driver to the speaker enclosure, and then pry the driver lose. I used a flat head screwdriver to gently pry the driver from the enclosure: there was definitely some adhesive, but it wasn’t too difficult to work the driver free.
The drivers are electrically connected using spade terminals, which you can just pull off. The wiring is polarized: the solid red wire should go to the speaker tab with the red mark on it, and the red wire with the black stripe should go to the speaker tab that doesn’t have a red mark.
Step 2: Remove the plastic frame
The driver has a plastic frame which I think is partly decorative and partly to help attach the foam surround to the driver’s metal frame. This is glued down, so you’ll need to pry it loose. I also used a flathead screwdriver for this step.
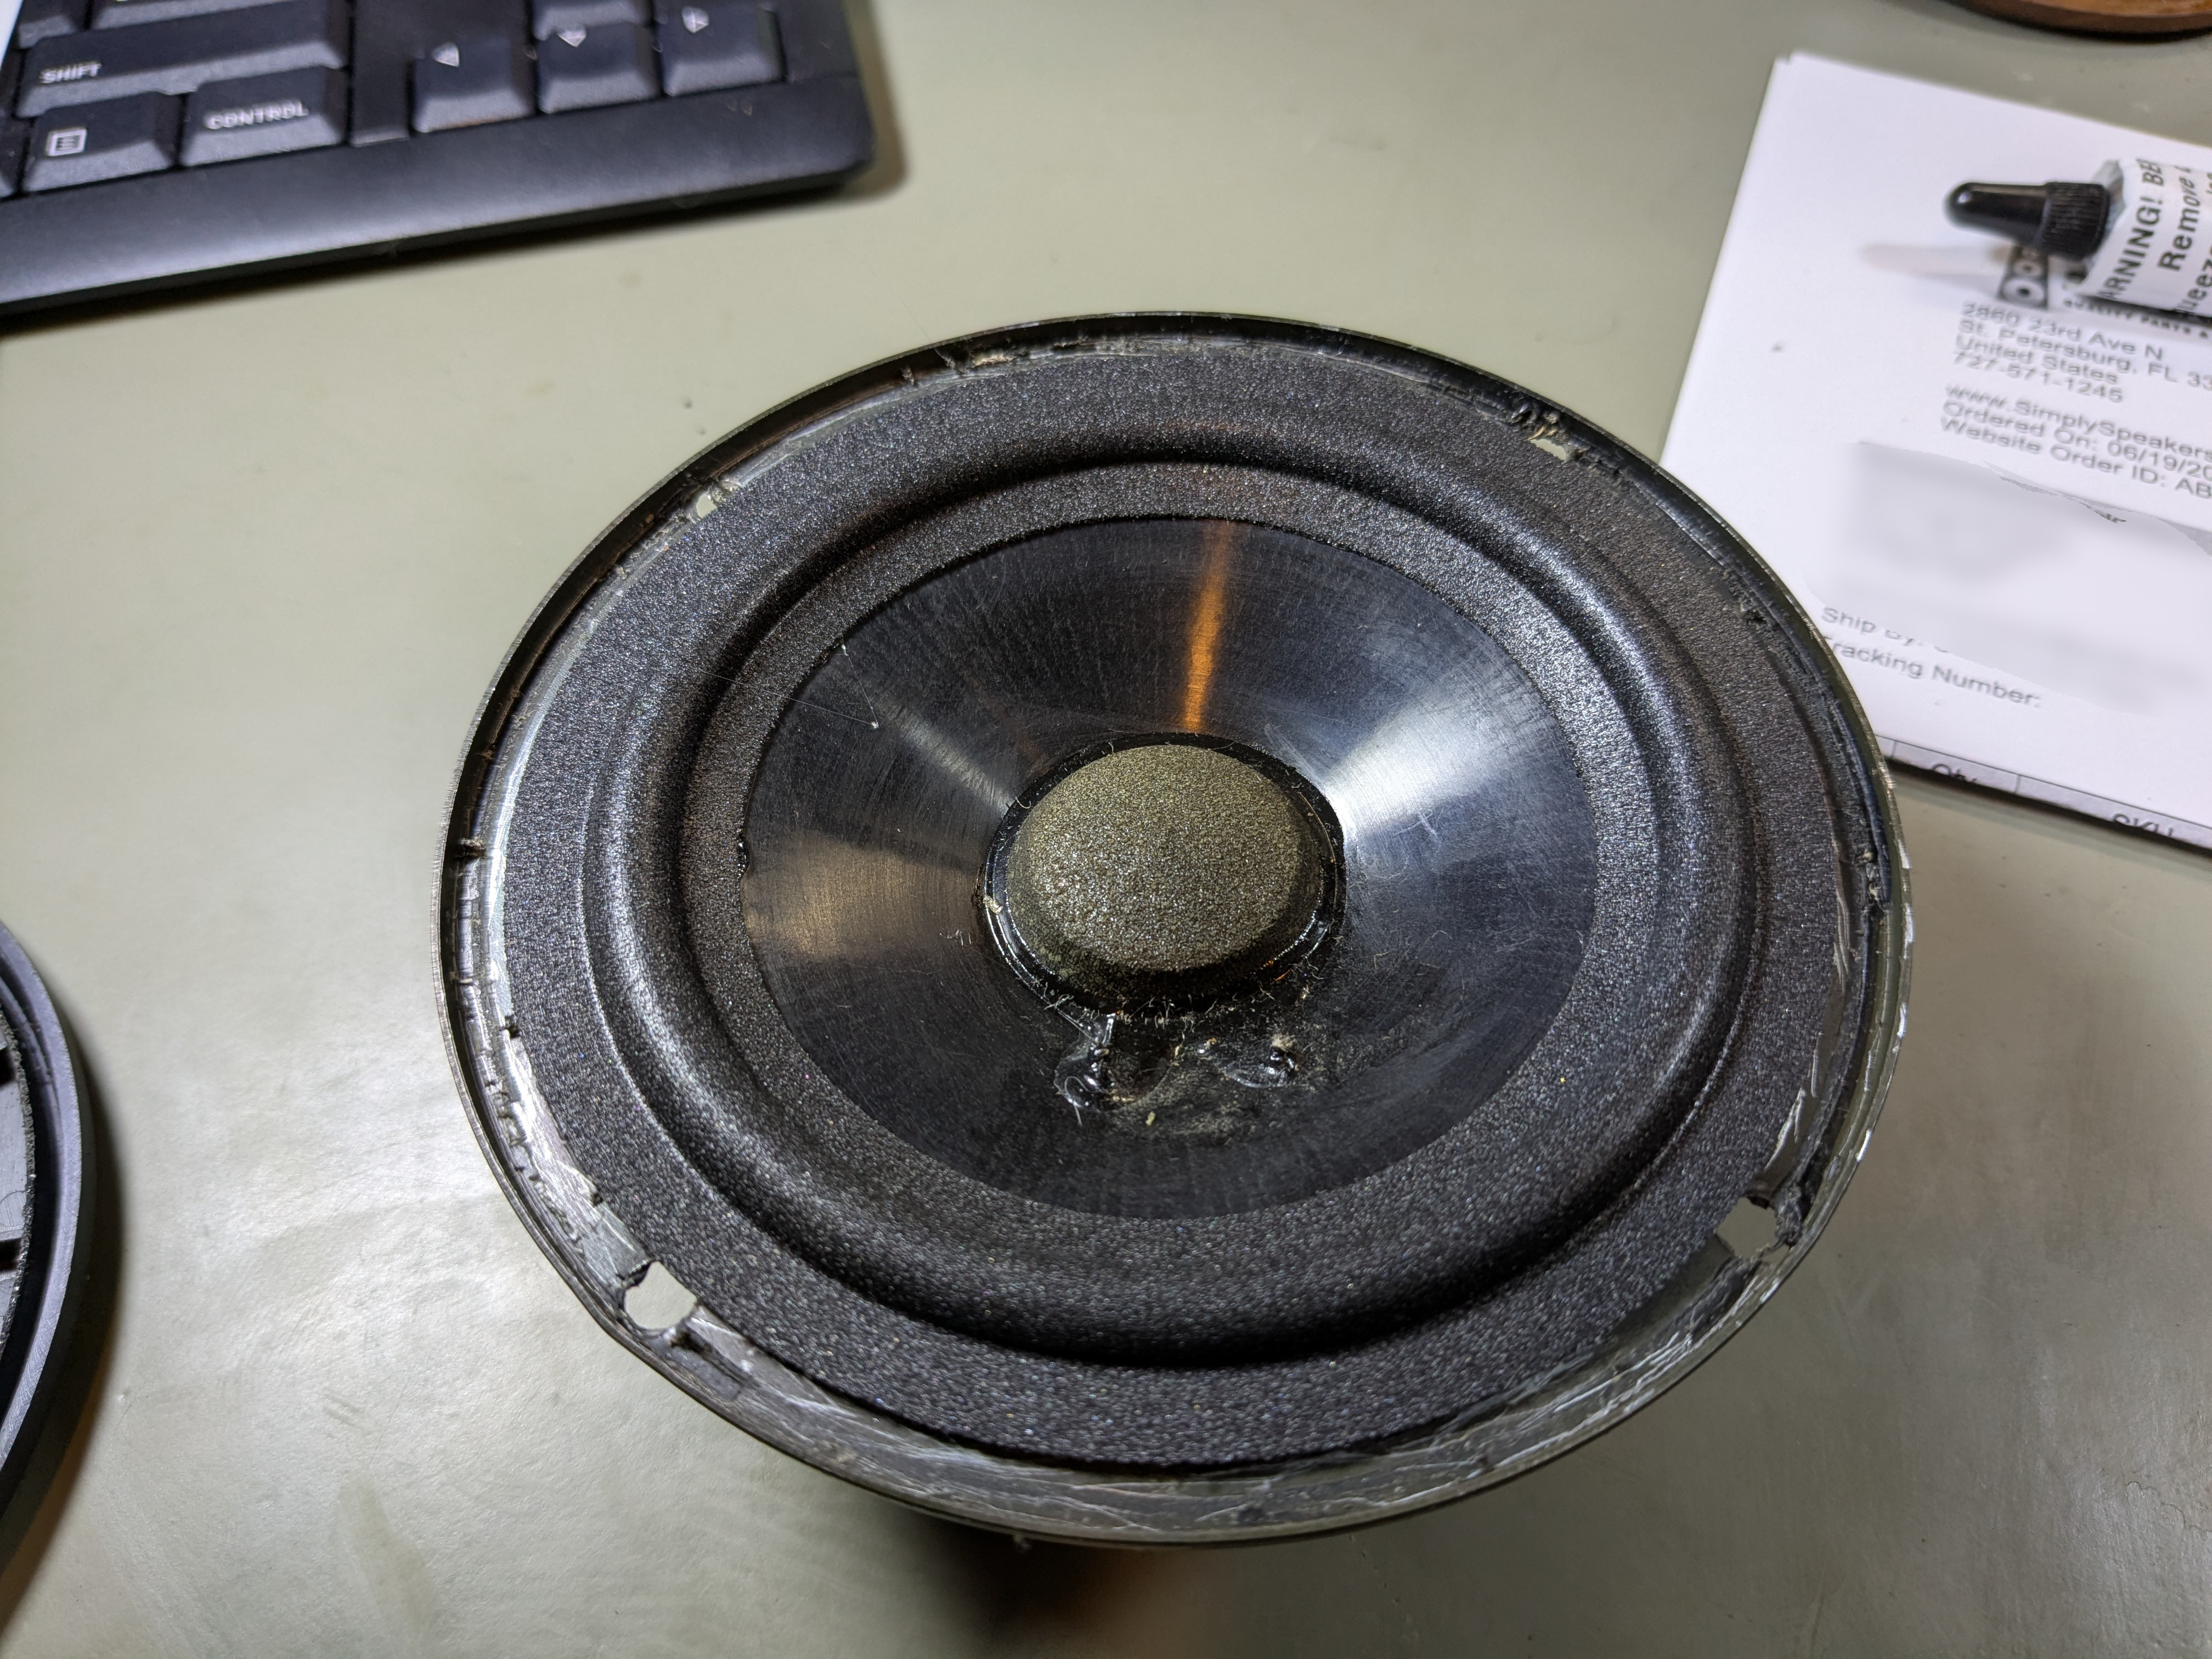
Step 3: Remove the old surrounds
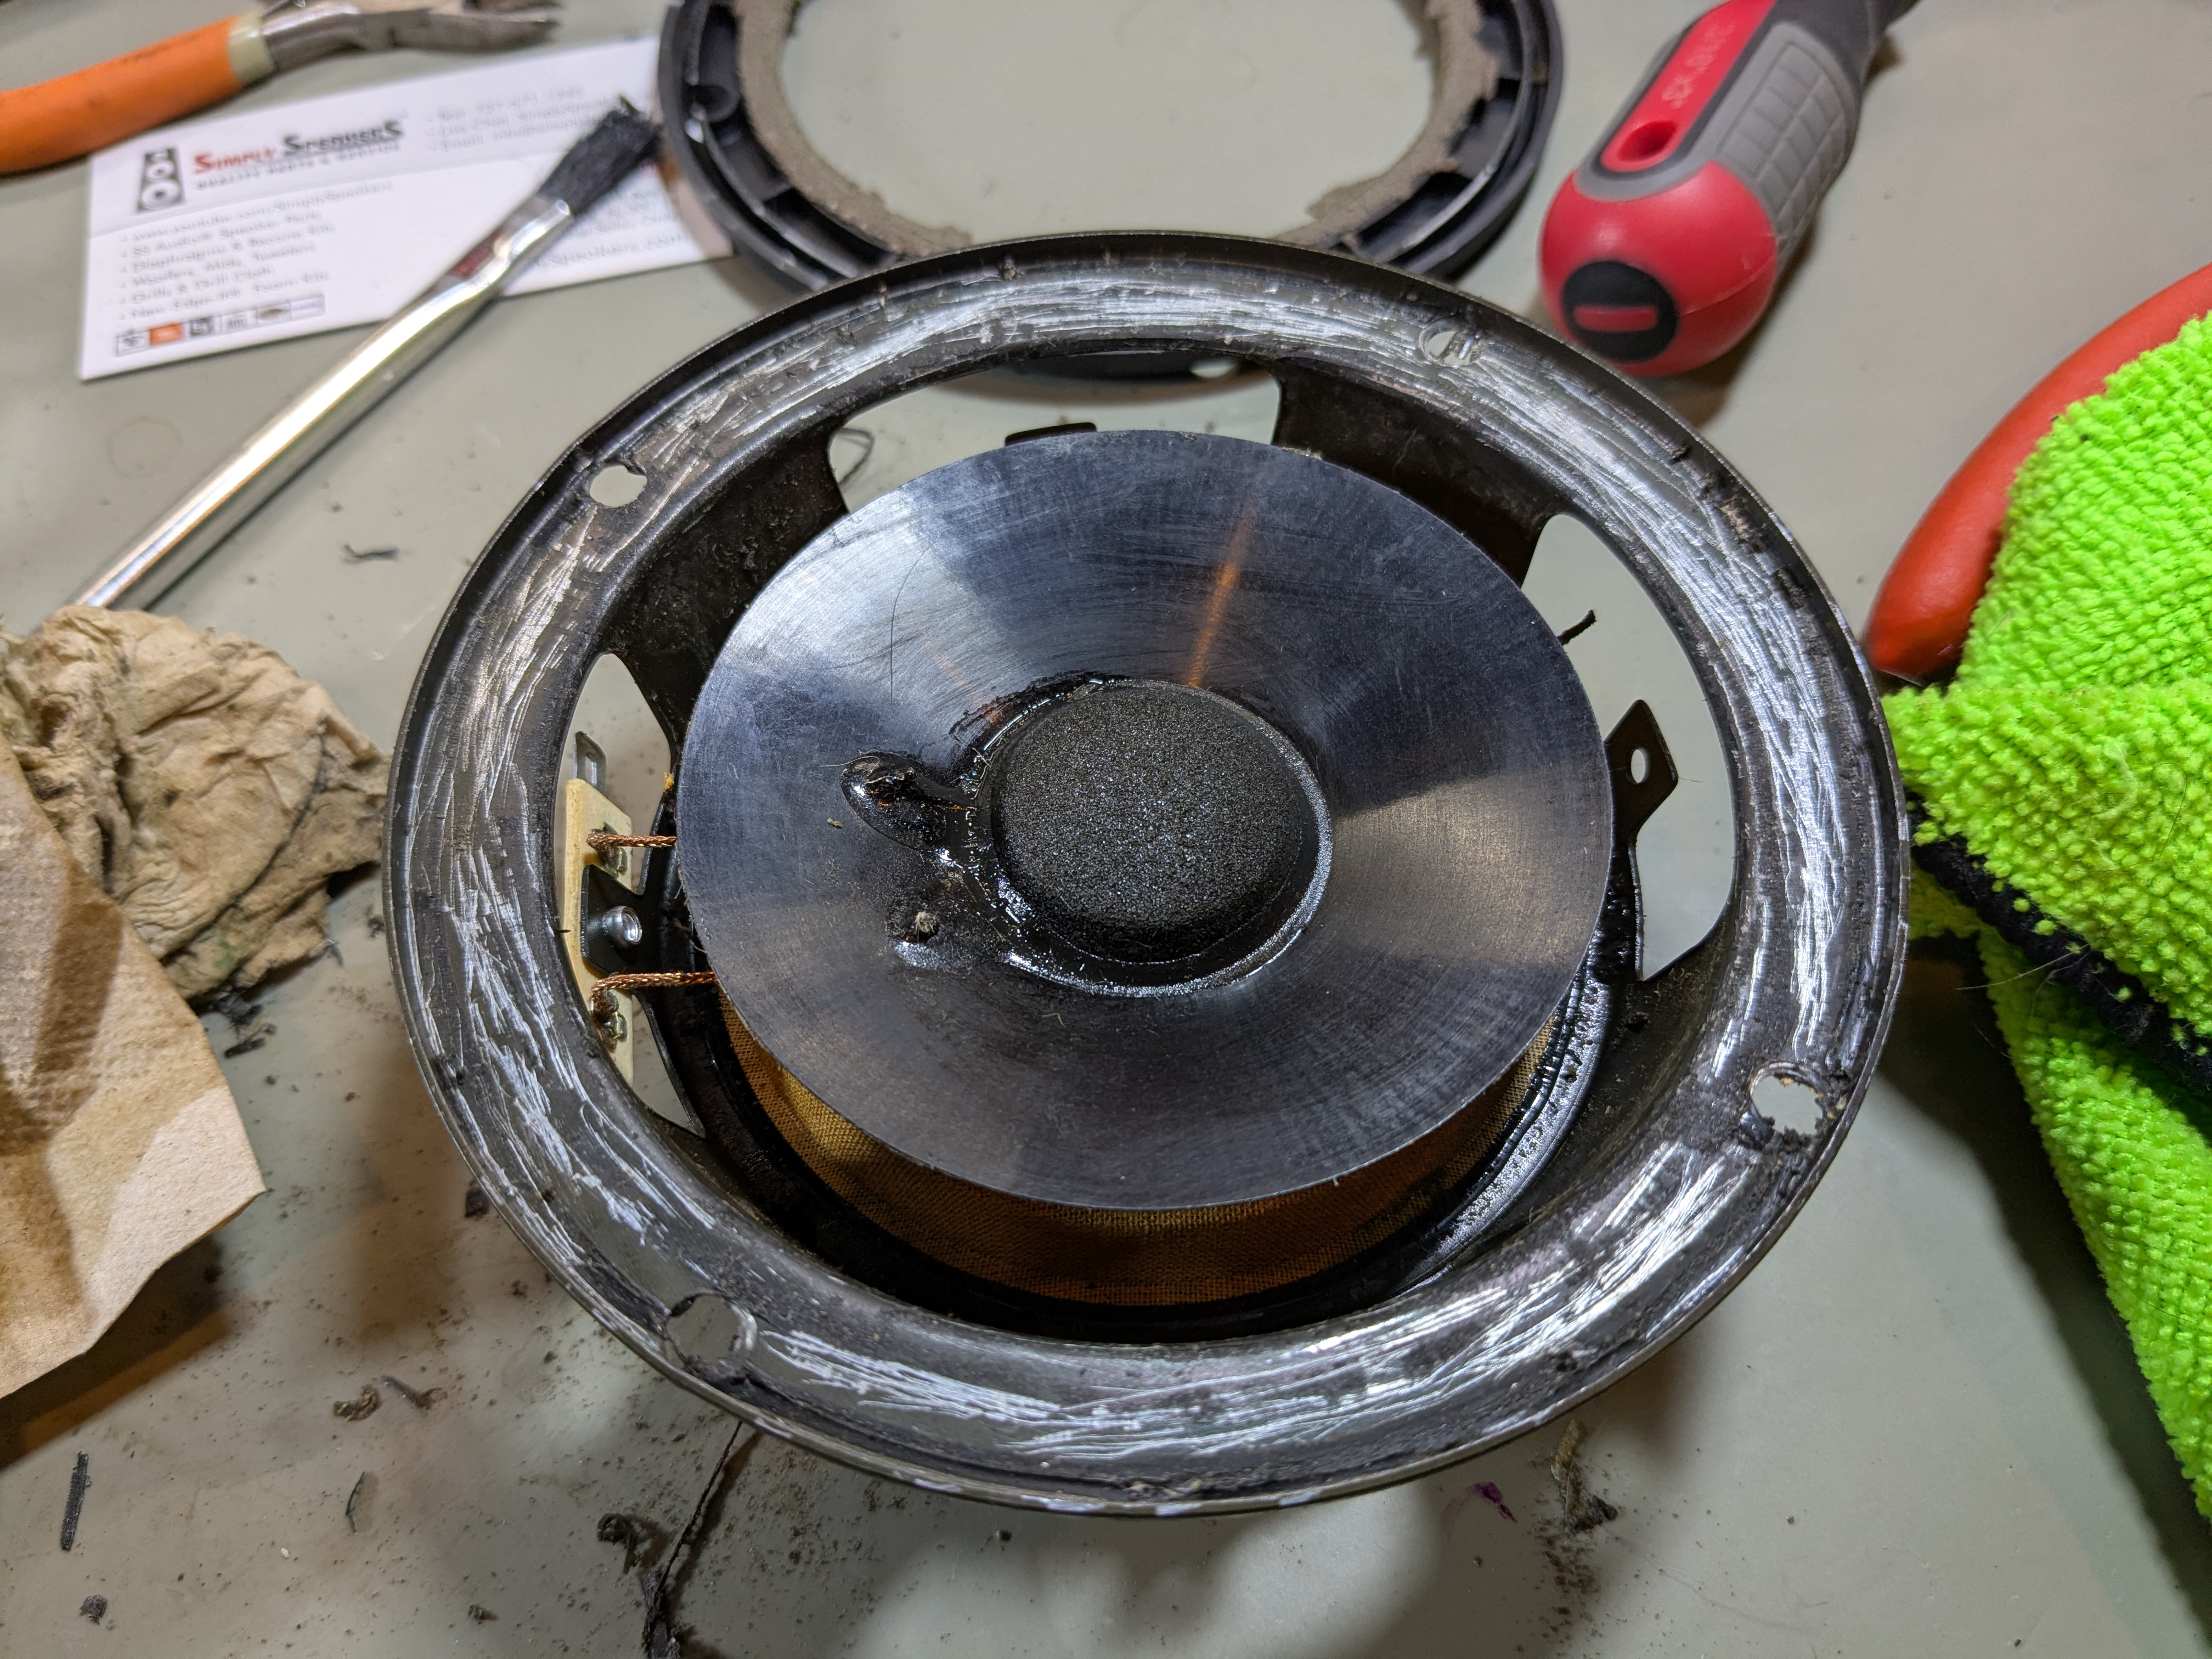
The most annoying part of the process is removing the old surrounds. Here’s one of the drivers after I cut away the easily-removable parts of the old surround:
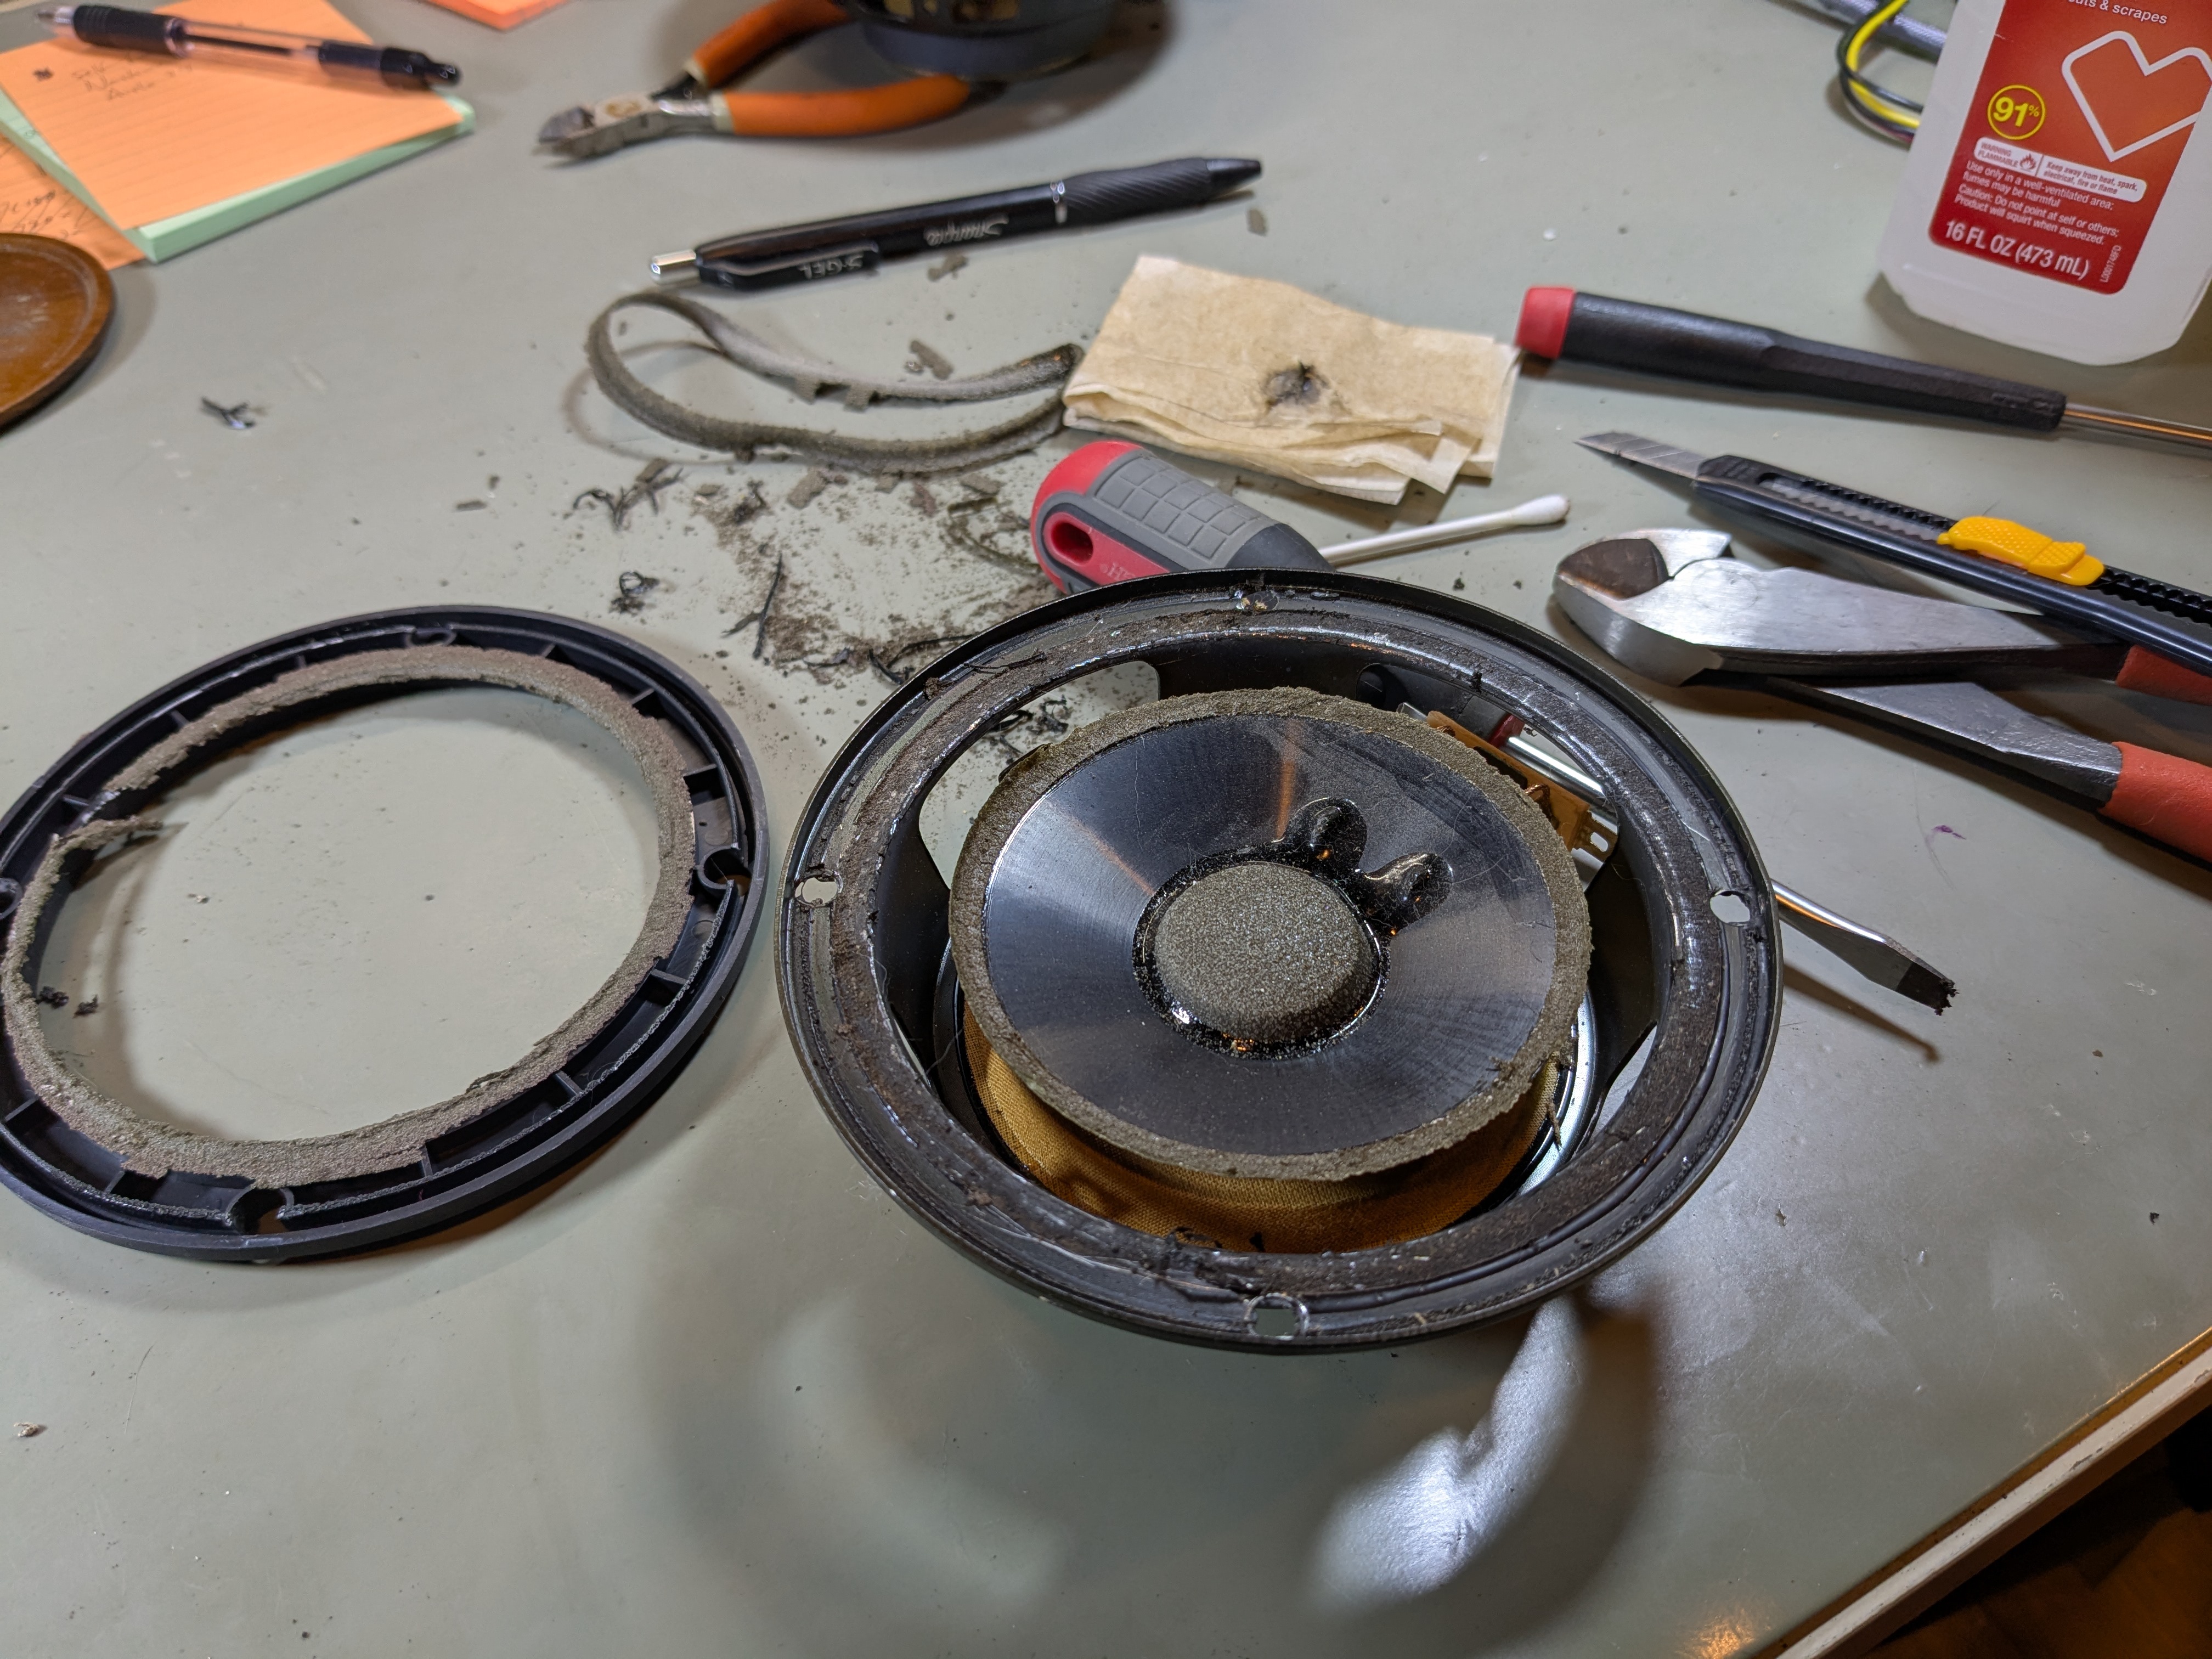
As you can see, the glue that attached the old surround to the speaker cone and the driver’s metal frame is still there, so you need to somehow scrape away the old glue and degraded foam rubber.
For the metal frame, I found that soaking one area with isopropyl alcohol and then scraping with a utility knife worked fairly well. The alcohol will help loosen the glue, but it will still take a fair amount of effort.
For the speaker cone, what I eventually found worked best was isopropyl alcohol to loosen the glue, and then scraping with a fingernail. I initially tried to use a utility knife, which scratched the heck out of the speaker cone:
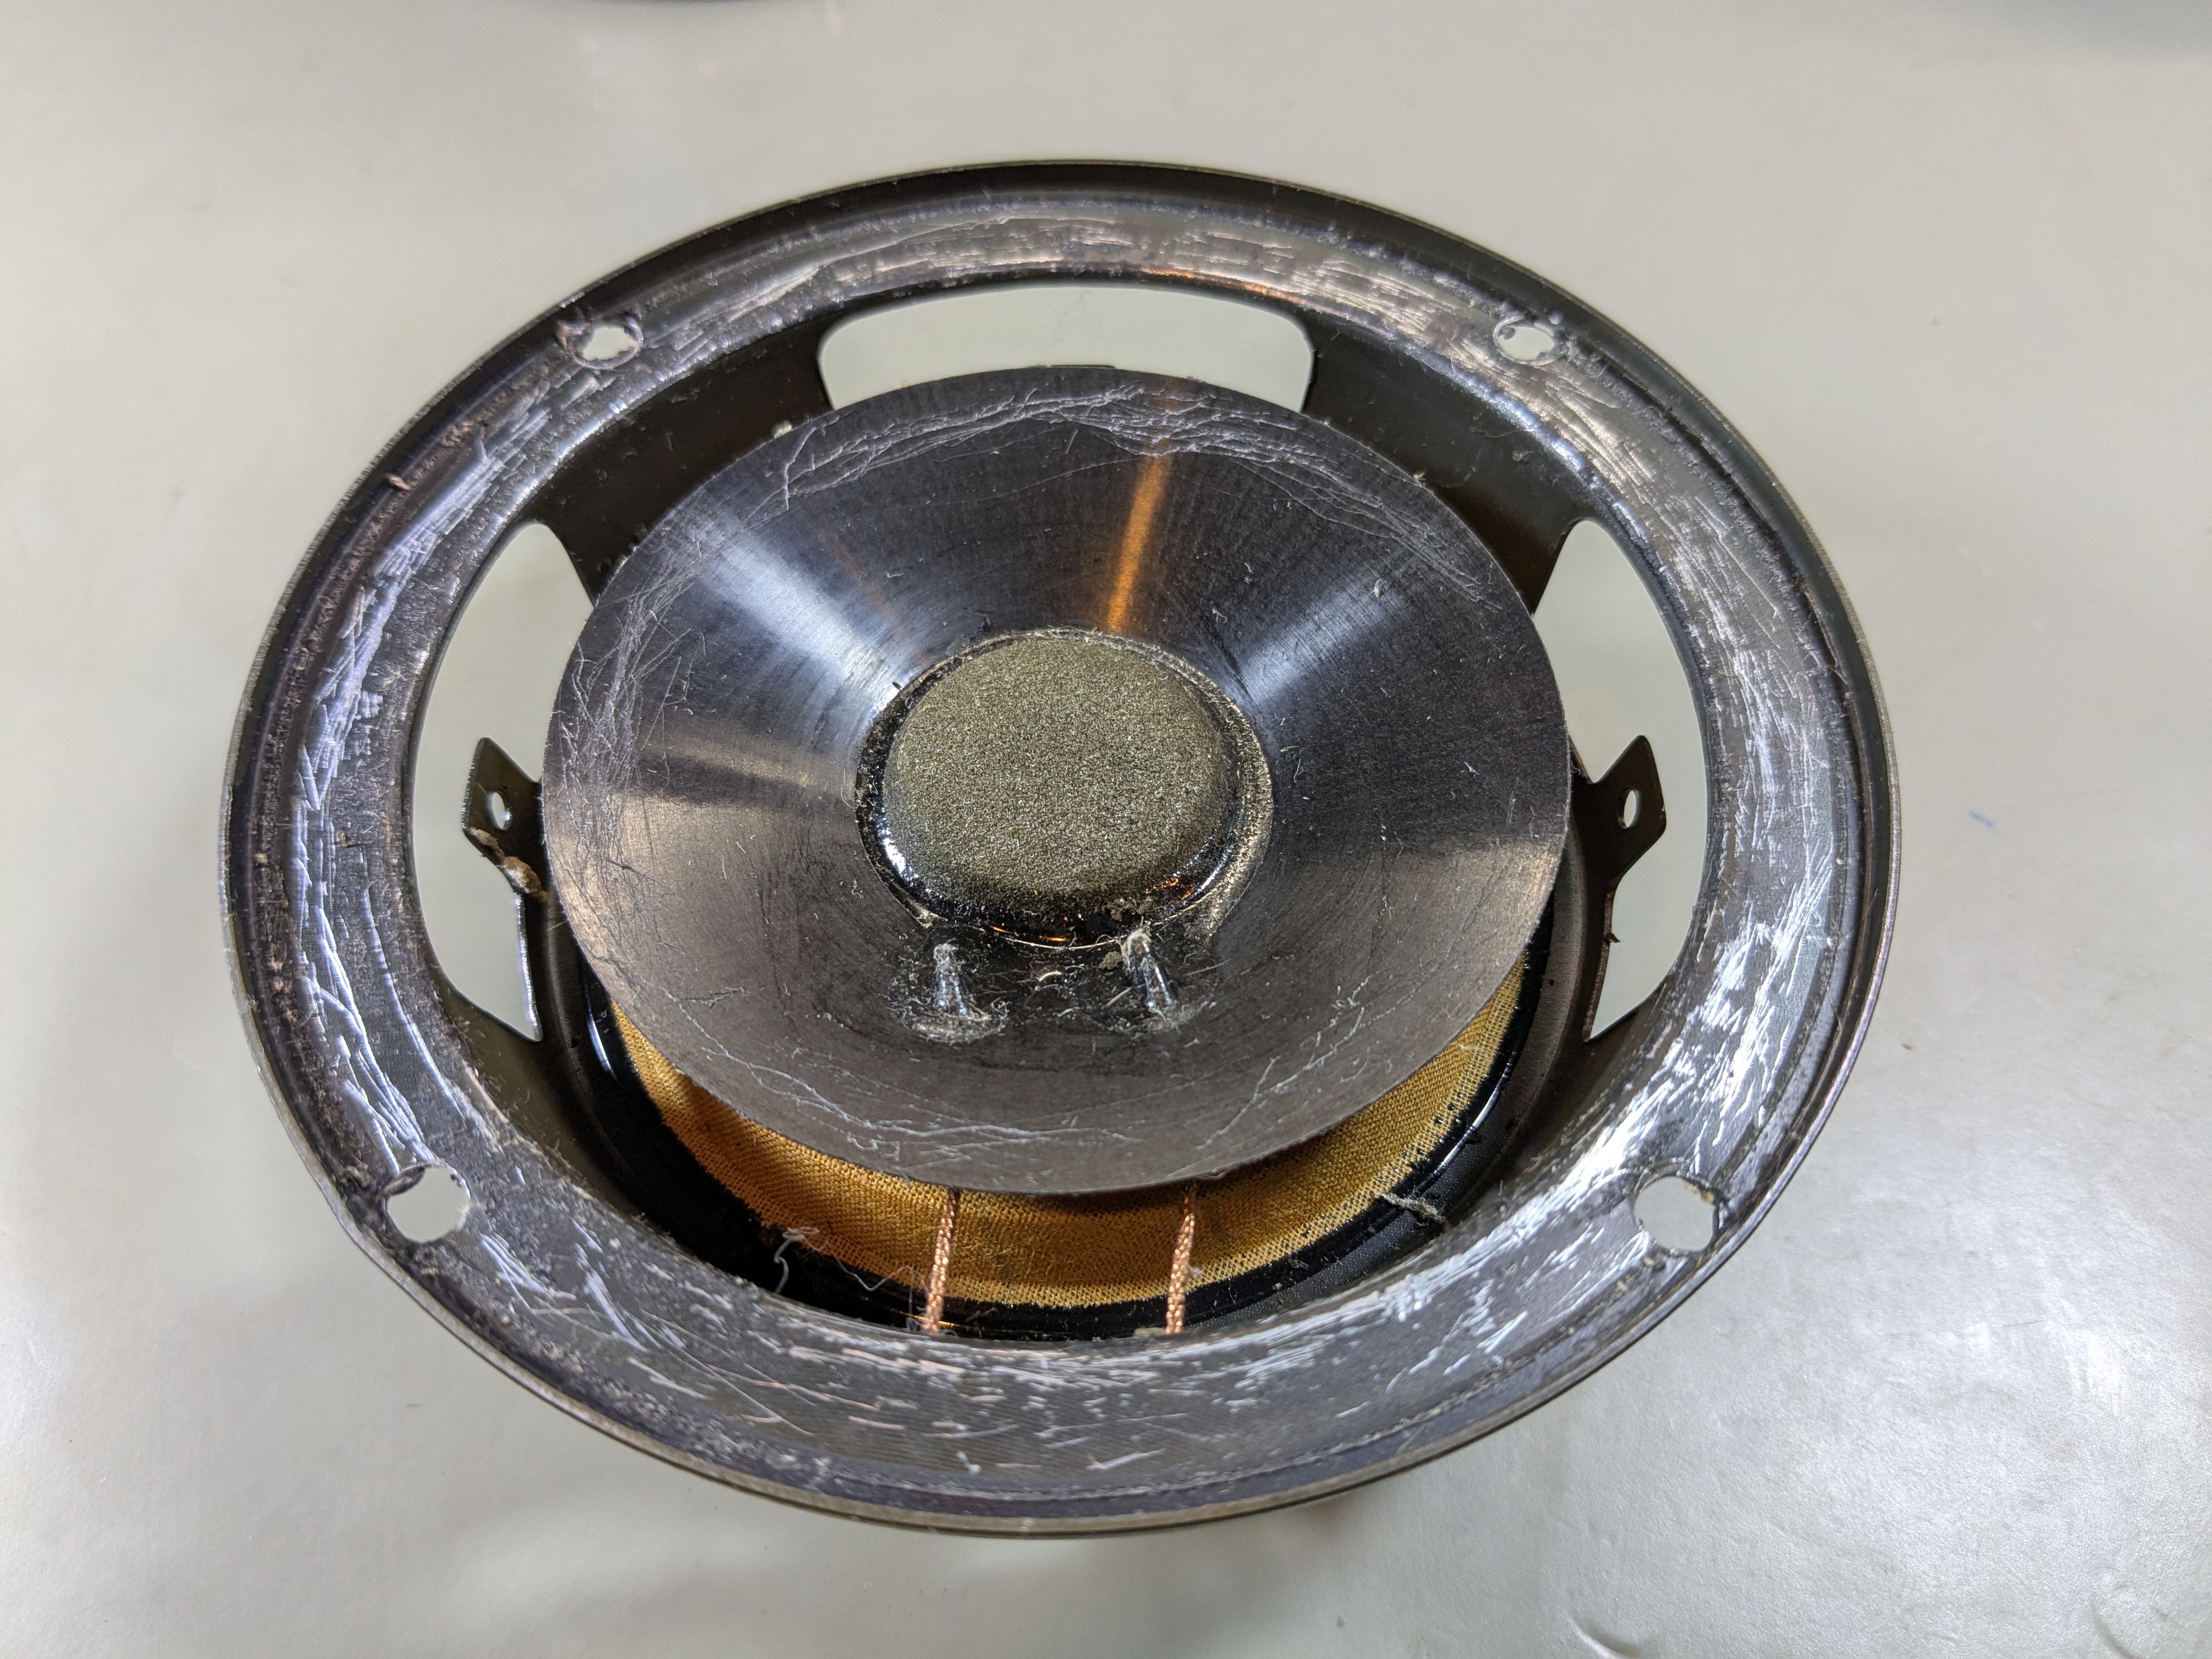
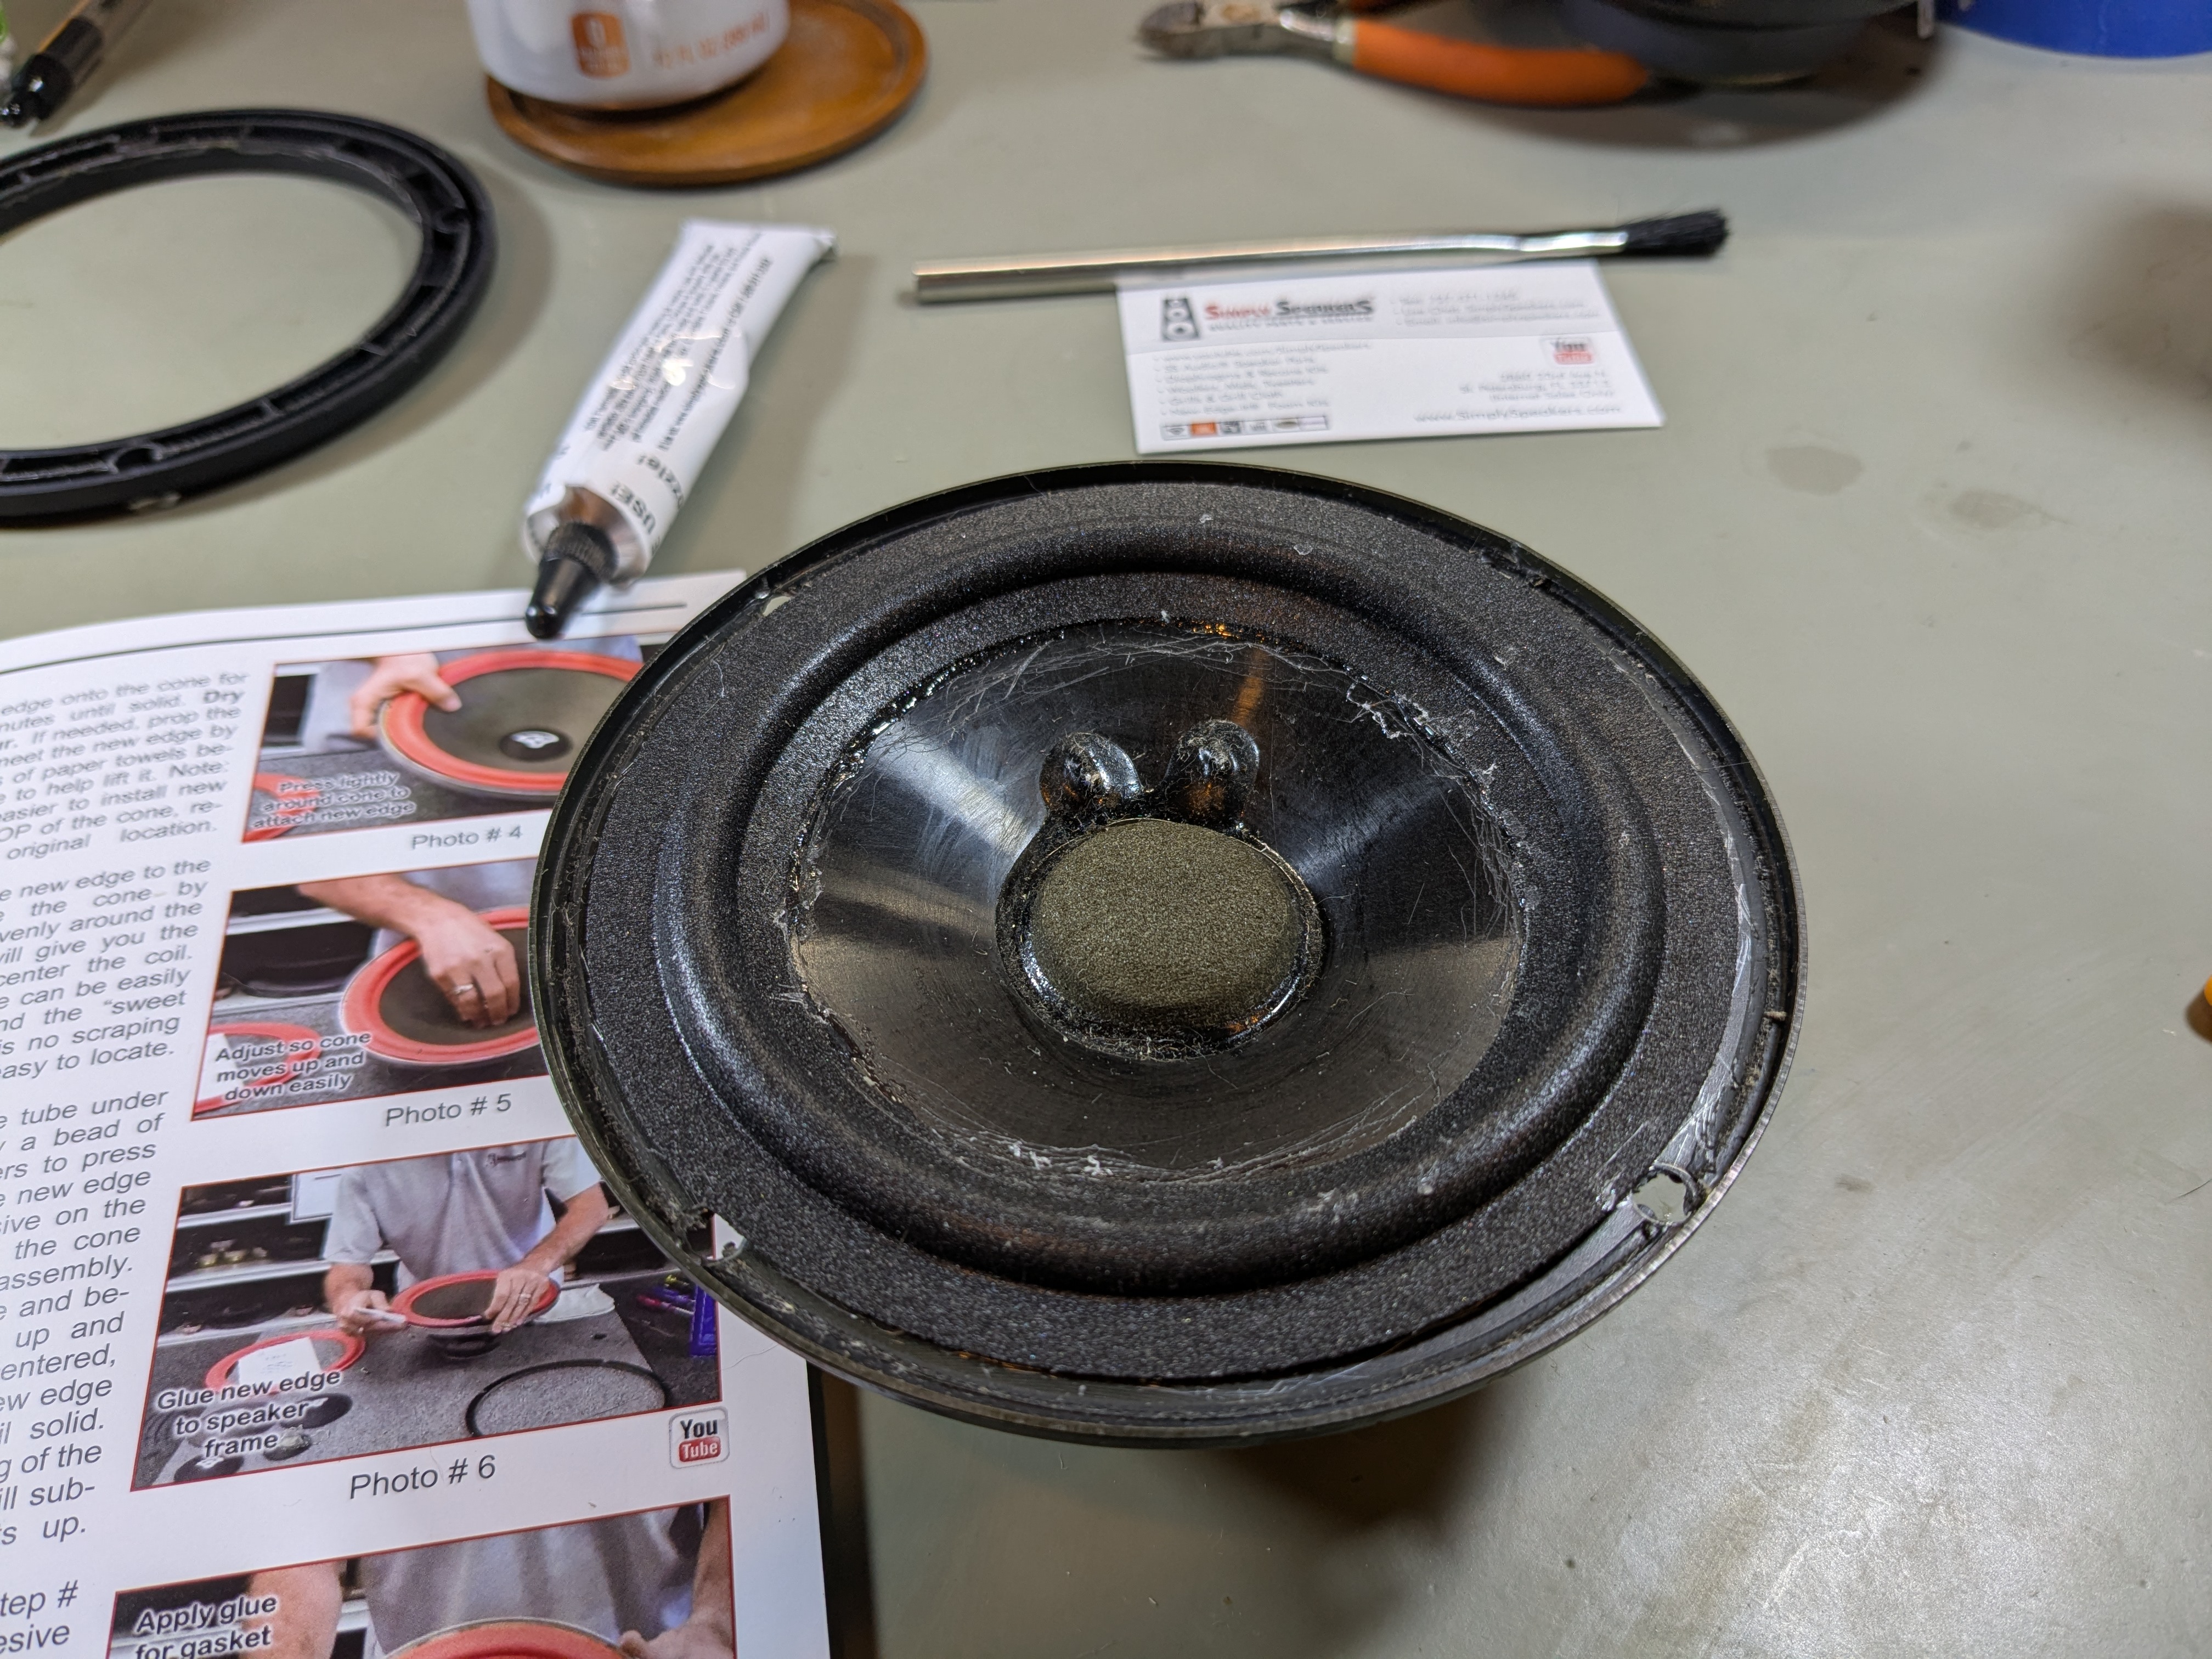
The new surrounds will cover some but not all of the scratches. It’s not really that big of a deal, since I plan to use the speaker grilles, so you won’t really be able to see the carnage when the speakers are in service. The isopropyl plus fingernail approach produced a much better result with the other driver:
Note that removing the old surrounds is incredibly messy. Here’s what my bench looked like after the first one:

I think the photo doesn’t do justice to how gross the foam residue is, especially when it forms a slurry mixed with isopropyl alcohol and old glue.
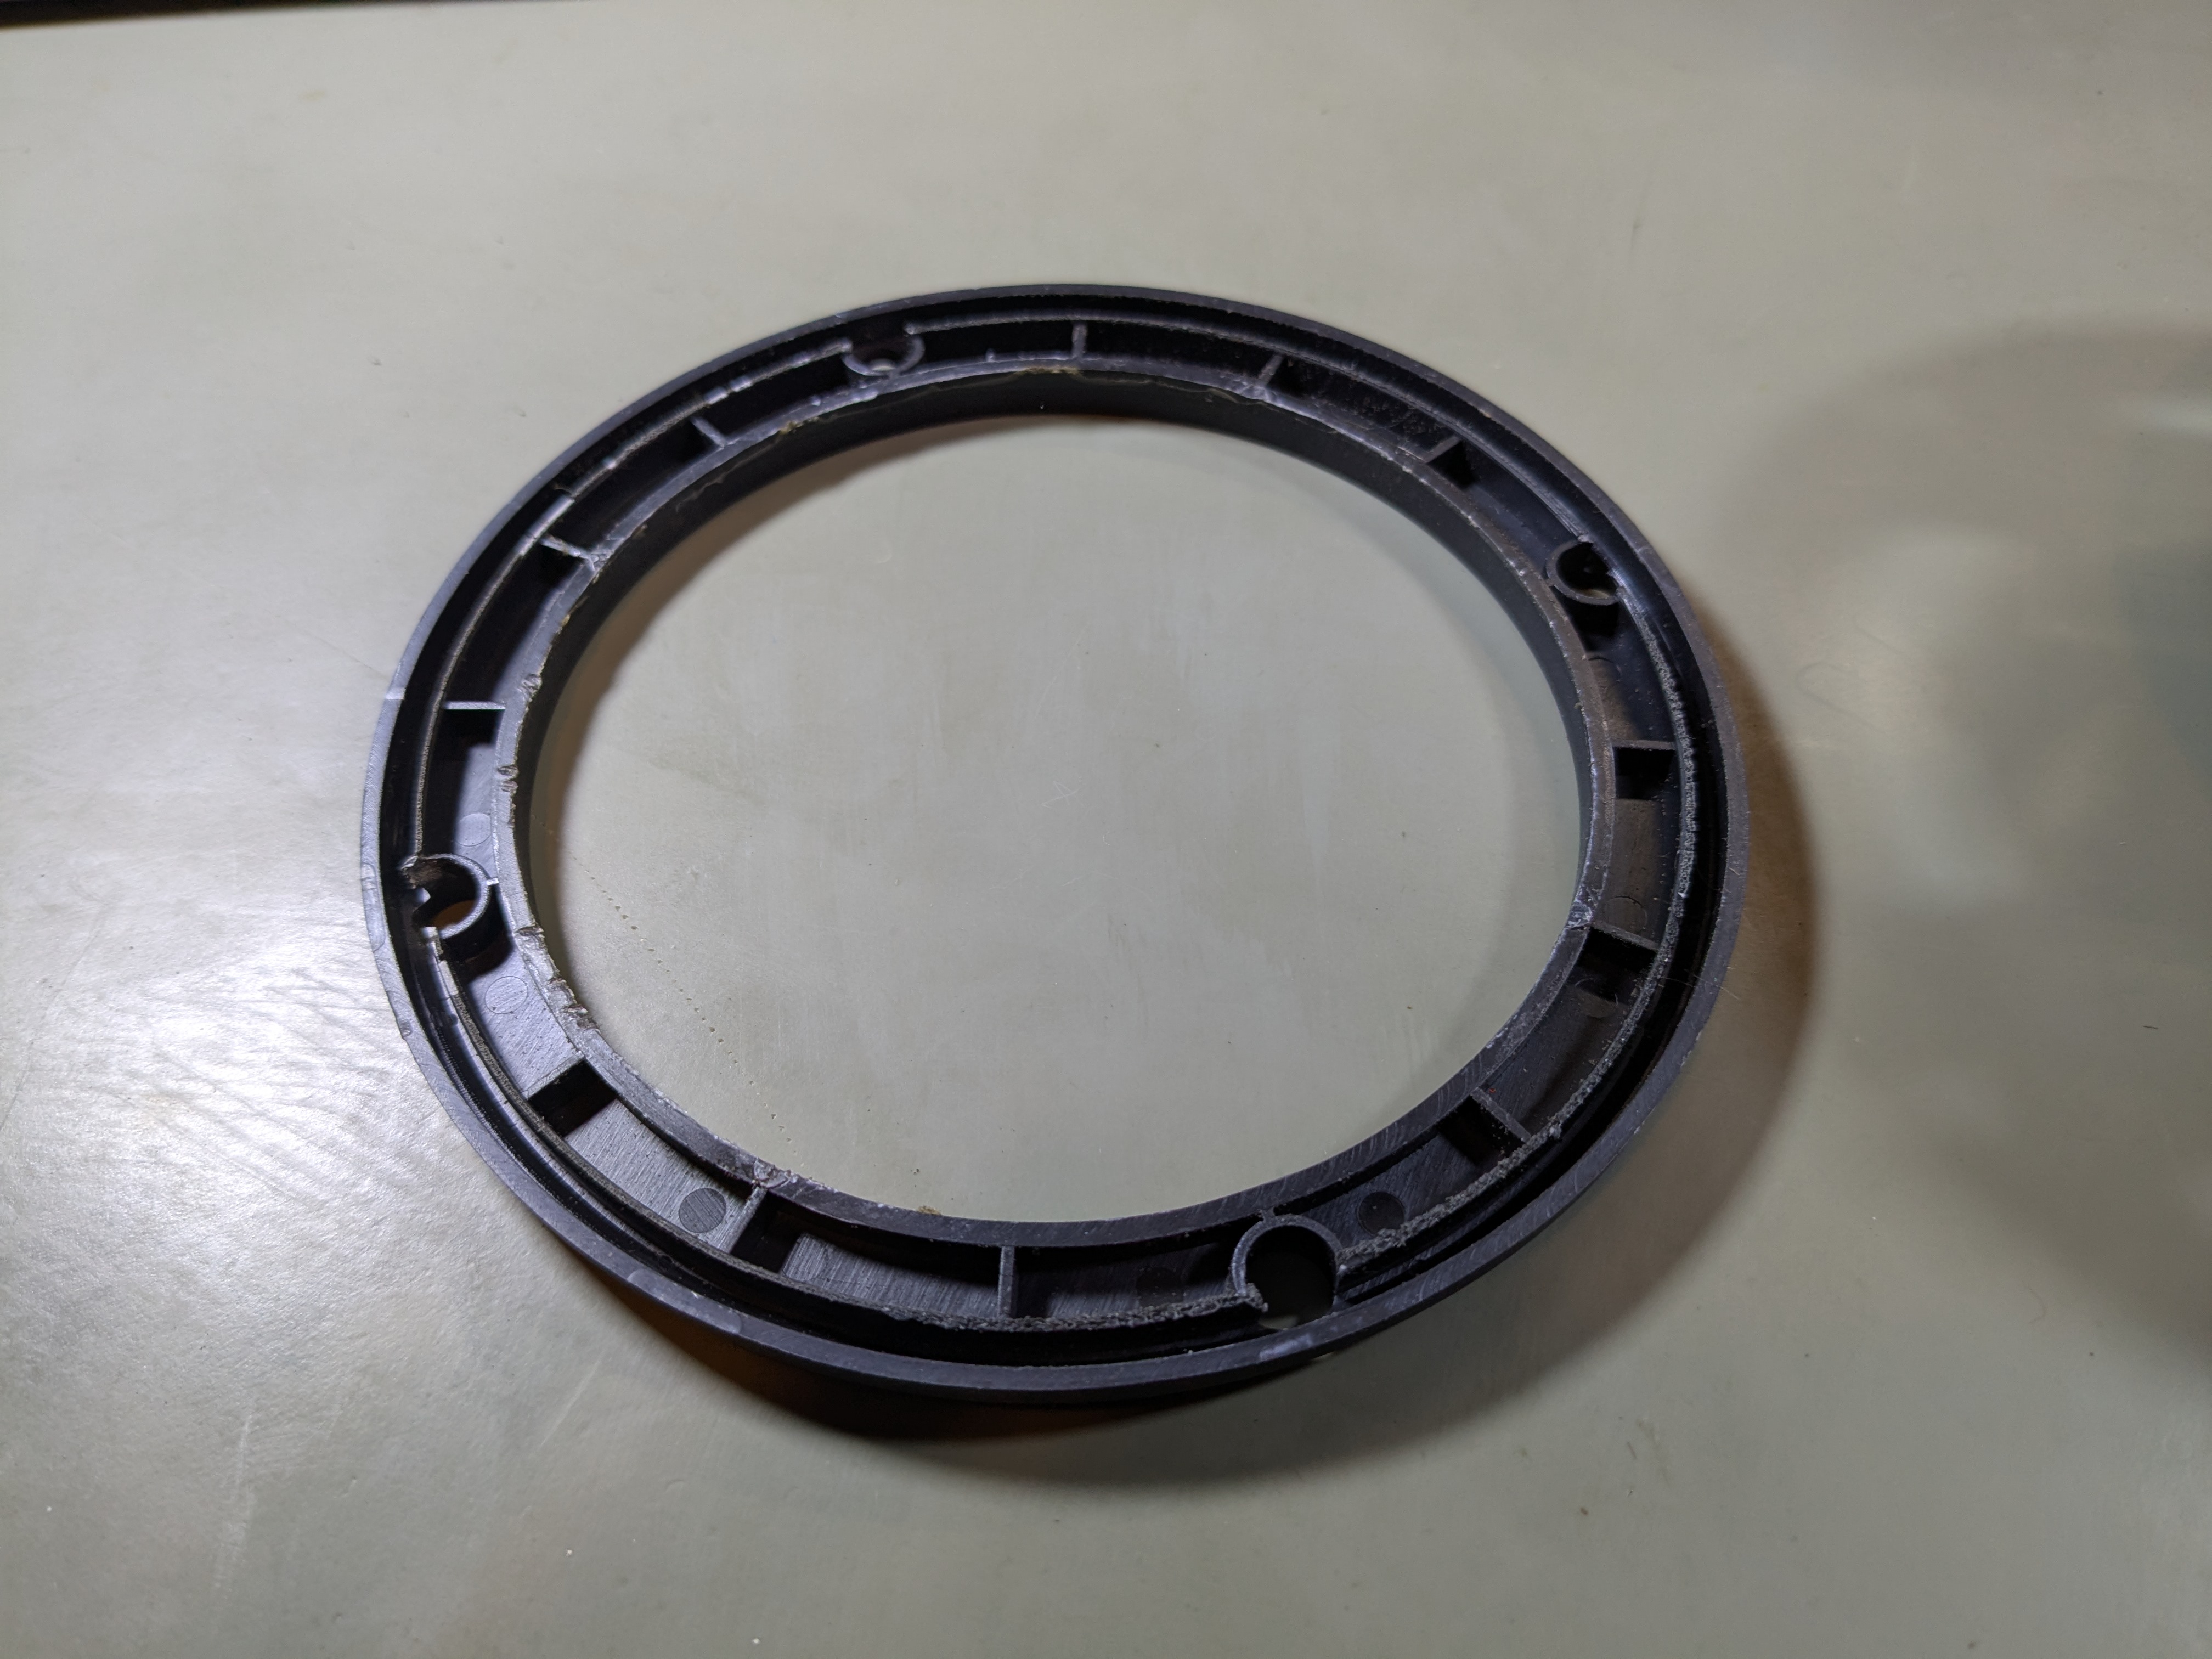
It was pretty easy to remove the remnants of the old surrounds from the front plastic frames with my fingers (no isopropyl alcohol was needed):
Step 4: Glue the new surrounds to the speaker cones
The next step was to glue the new surrounds to the speaker cones. Here’s the kit as I received it:
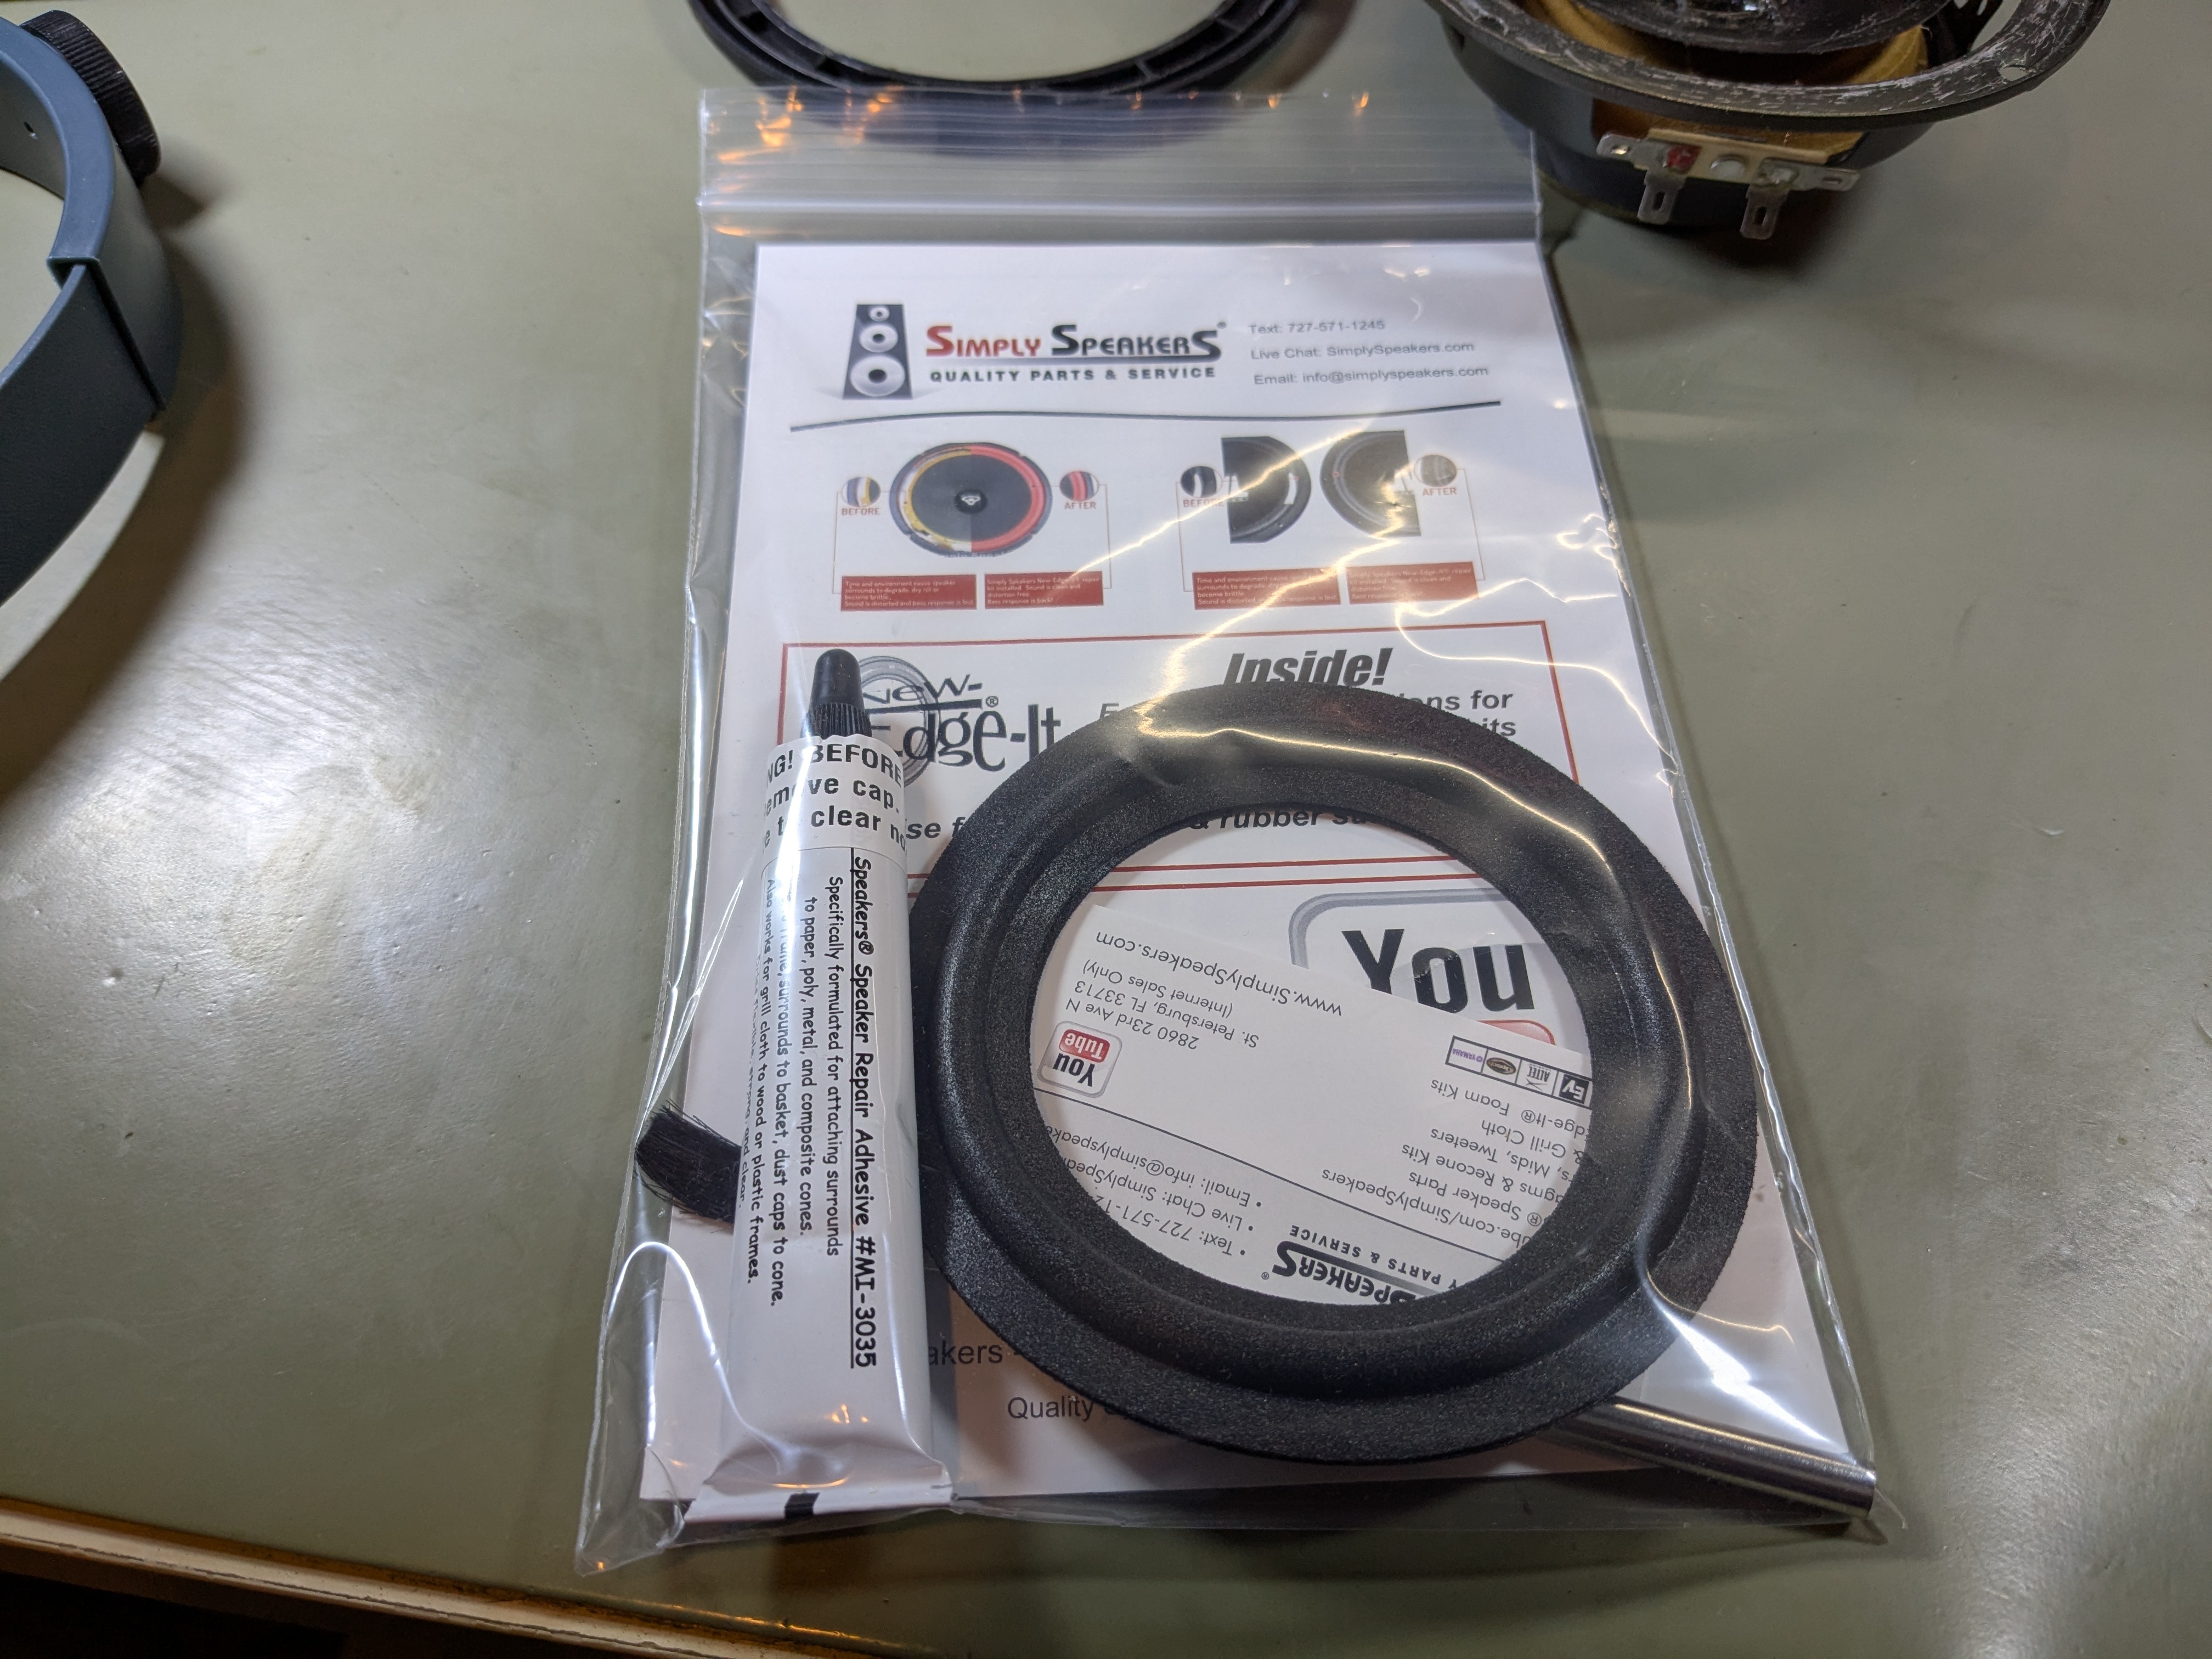
The basic procedure is to put a surround on top of the speaker cone, apply a bead of glue to the inner part of the surround where it will attach to the cone, spread the glue (with a finger or brush) to even it out, and then flip the surround to attach it to the cone. I watched one of Simply Speaker’s youtube videos to get a sense of the procedure, but I made a critial mistake.
There is a sticker on the tube reading “WARNING! BEFORE USE! Remove cap. Squeeze to clear nozzle.” In retrospect, the instructions are clearly meant to have you flush the partially dried glue from the nozzle, since it won’t flow or spread evenly. I did squeeze out some partially dried glue, but I had no idea how much there was supposed to be, so eventually I started applying glue to the surround, assuming that it was the correct consistency. This created two problems:
- The partially dried glue doesn’t spread well
- Once the completely liquid glue starts to come out, it comes out fast
So, I ended up with some impossible to spread partially dried glue and a huge blob of liquid glue on the new surround. I did my best to clean up the mess and then apply a proper bead of liquid glue, but I still managed to get a lot of stray glue onto the cone:
This leads to my first important lesson:
The Simply Speakers glue should be completely clear, and should flow easily. If the glue coming out of the tube is cloudy and/or doesn’t flow well, don’t apply it to the surround.
Armed with this knowledge, I was able to achieve a much better result on the next driver:
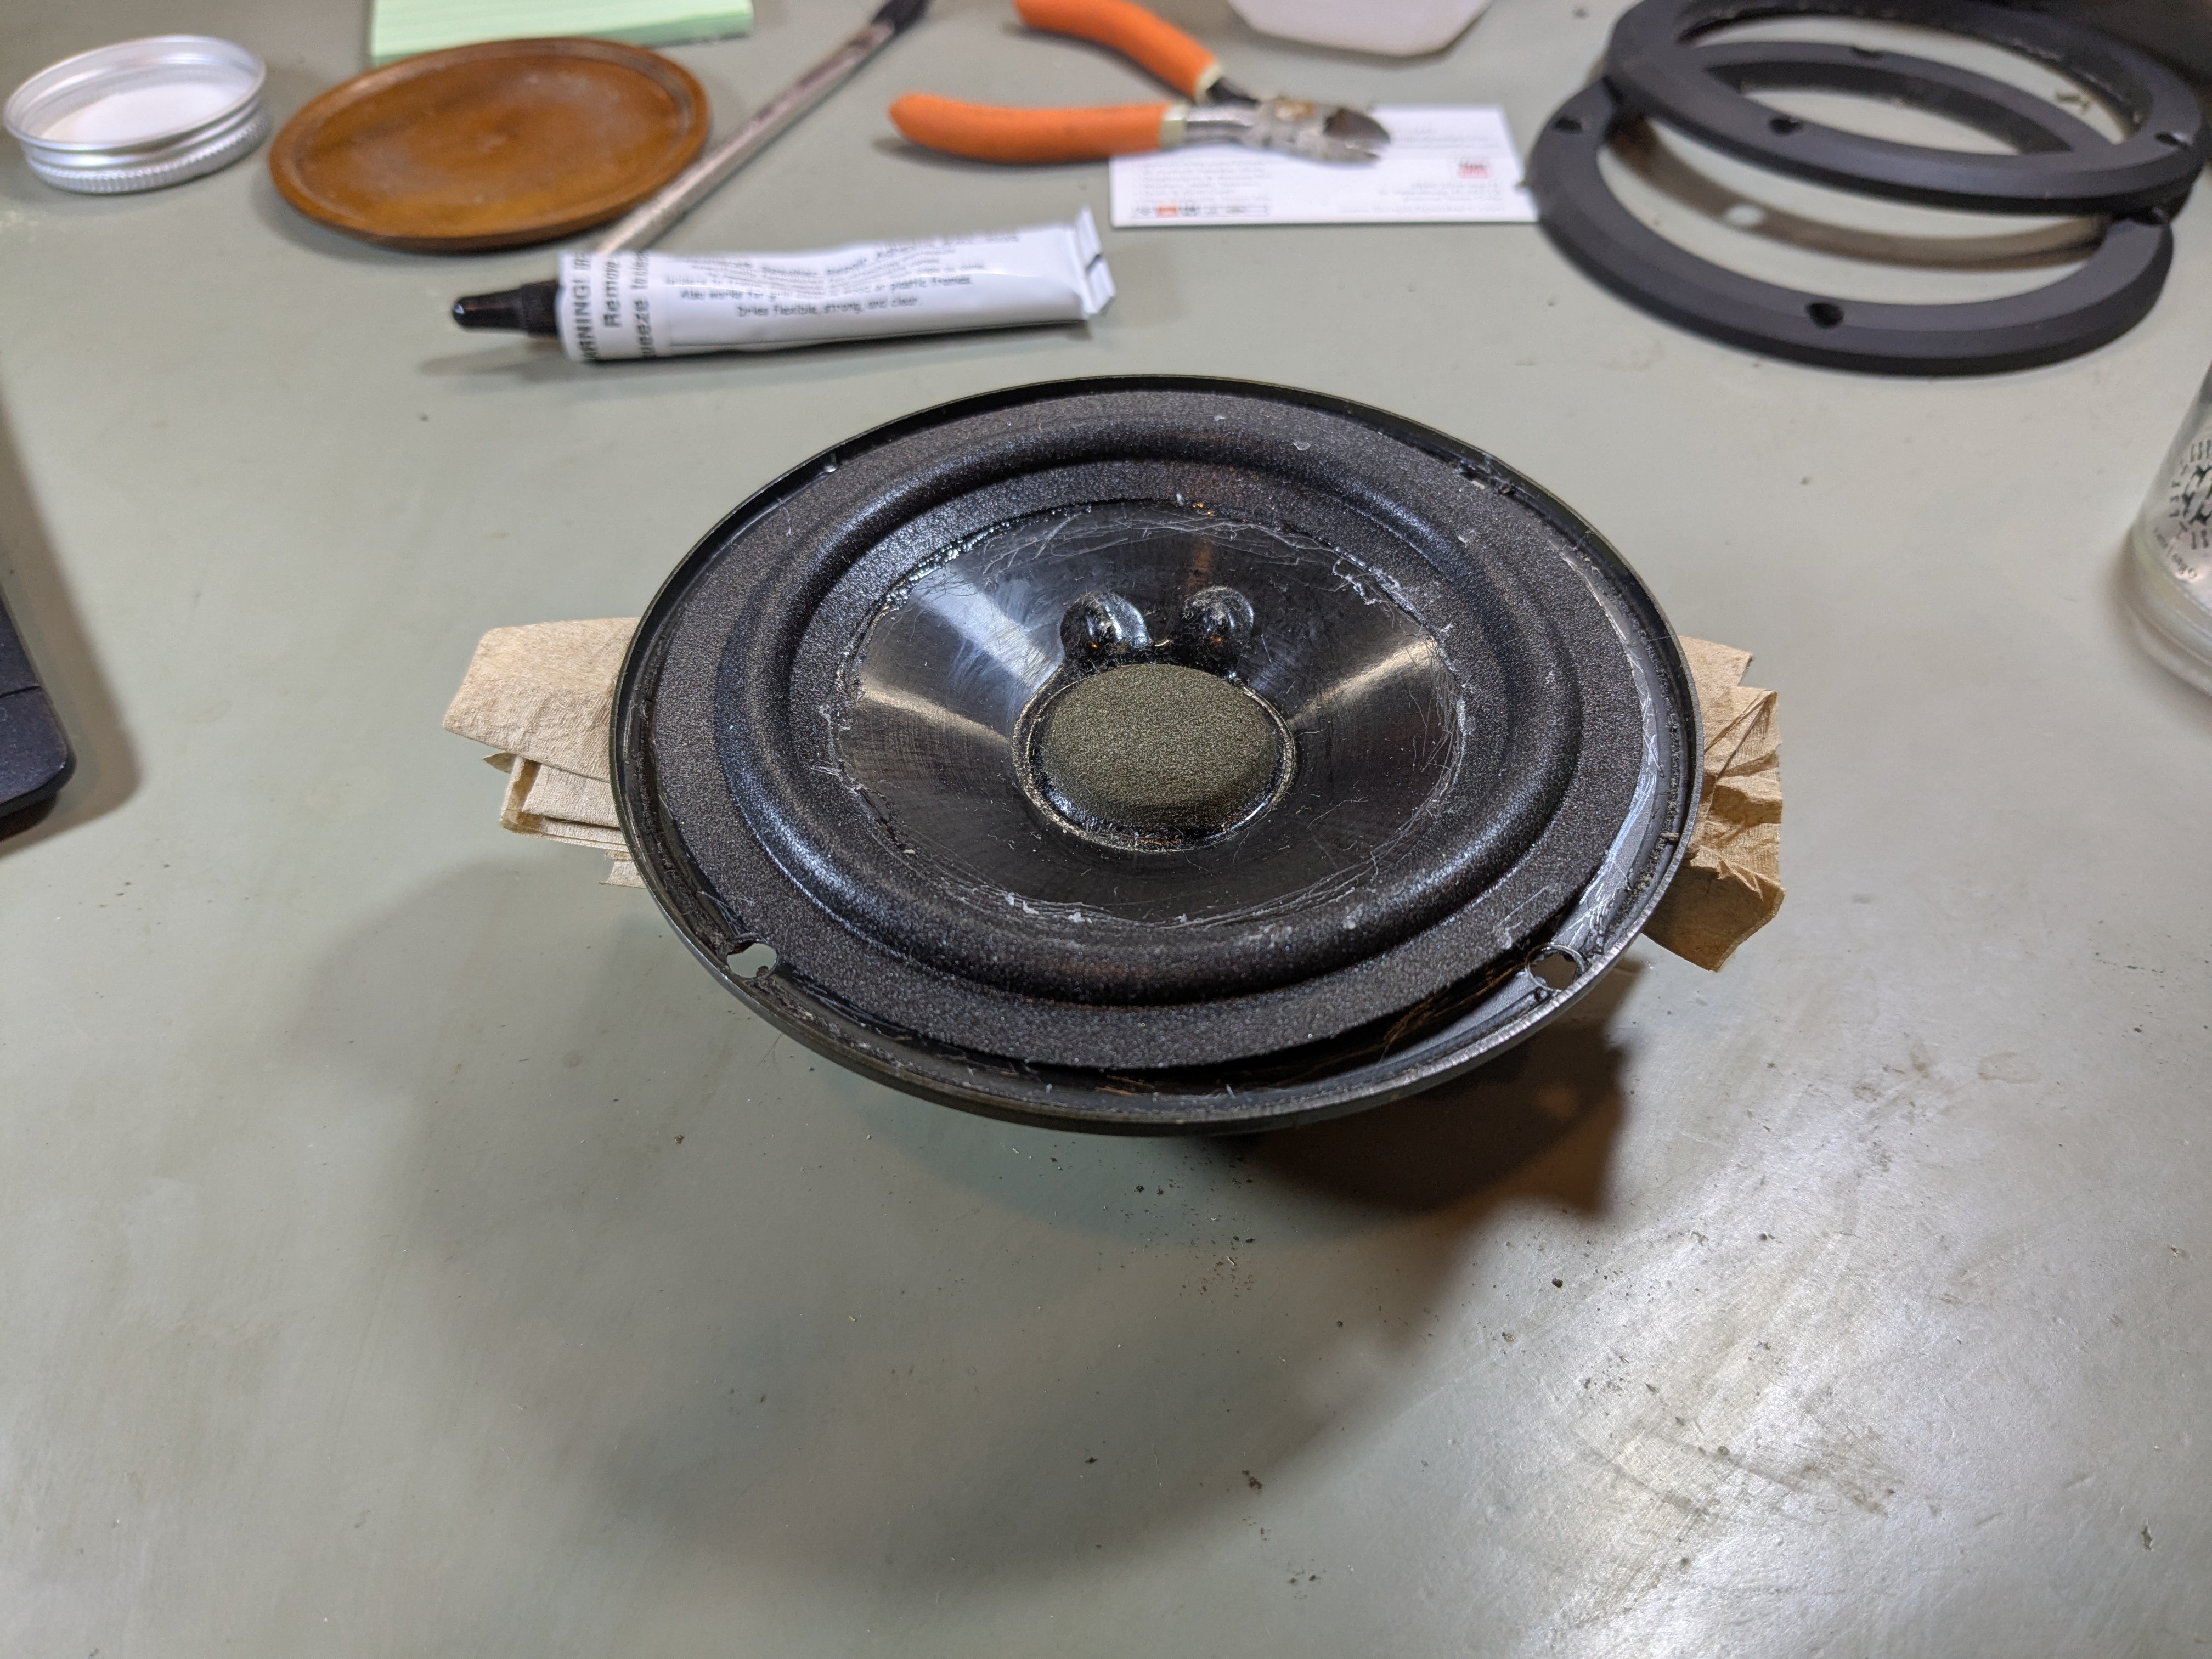
Step 5: Glue the surround to the metal frame
Once the glue attaching the surround to the speaker cone has dried, you can glue the outer part of the surround to the metal frame. It’s helpful to create some space between the surround and the metal frame so that you can lay a bead of glue under the surround. I used some paper napkins as wedges to push the cone up a bit:
As I applied the glue to the speaker frame I used a plastic pry tool to lift up the surround so I could get under it with the glue nozzle.
Once the glue is on the speaker frame, you need to make sure that the surround is properly centered so that it doesn’t tug the speaker cone off to one side. I followed the advice in the video and started by pressing down on the speaker cone to make sure it was properly centered, and then started to gradually press the edge of the surround onto the metal frame. One unexpected challenge at this point is that the edge of the surround really wanted to curl up rather than lie flat. I think this is partially because the drivers in the RS 1001 just aren’t very big, and there’s not a lot area where the surround contacts the metal frame. In the end I decided to lay another bead of glue around the edge of the surround to glue down the plastic frame, so that the edge of the surround was sandwiched between the driver’s metal frame and the top plastic frame. I then weighed down the plastic frame using the speaker enclosure:
Here’s the end result on the “nice” driver:
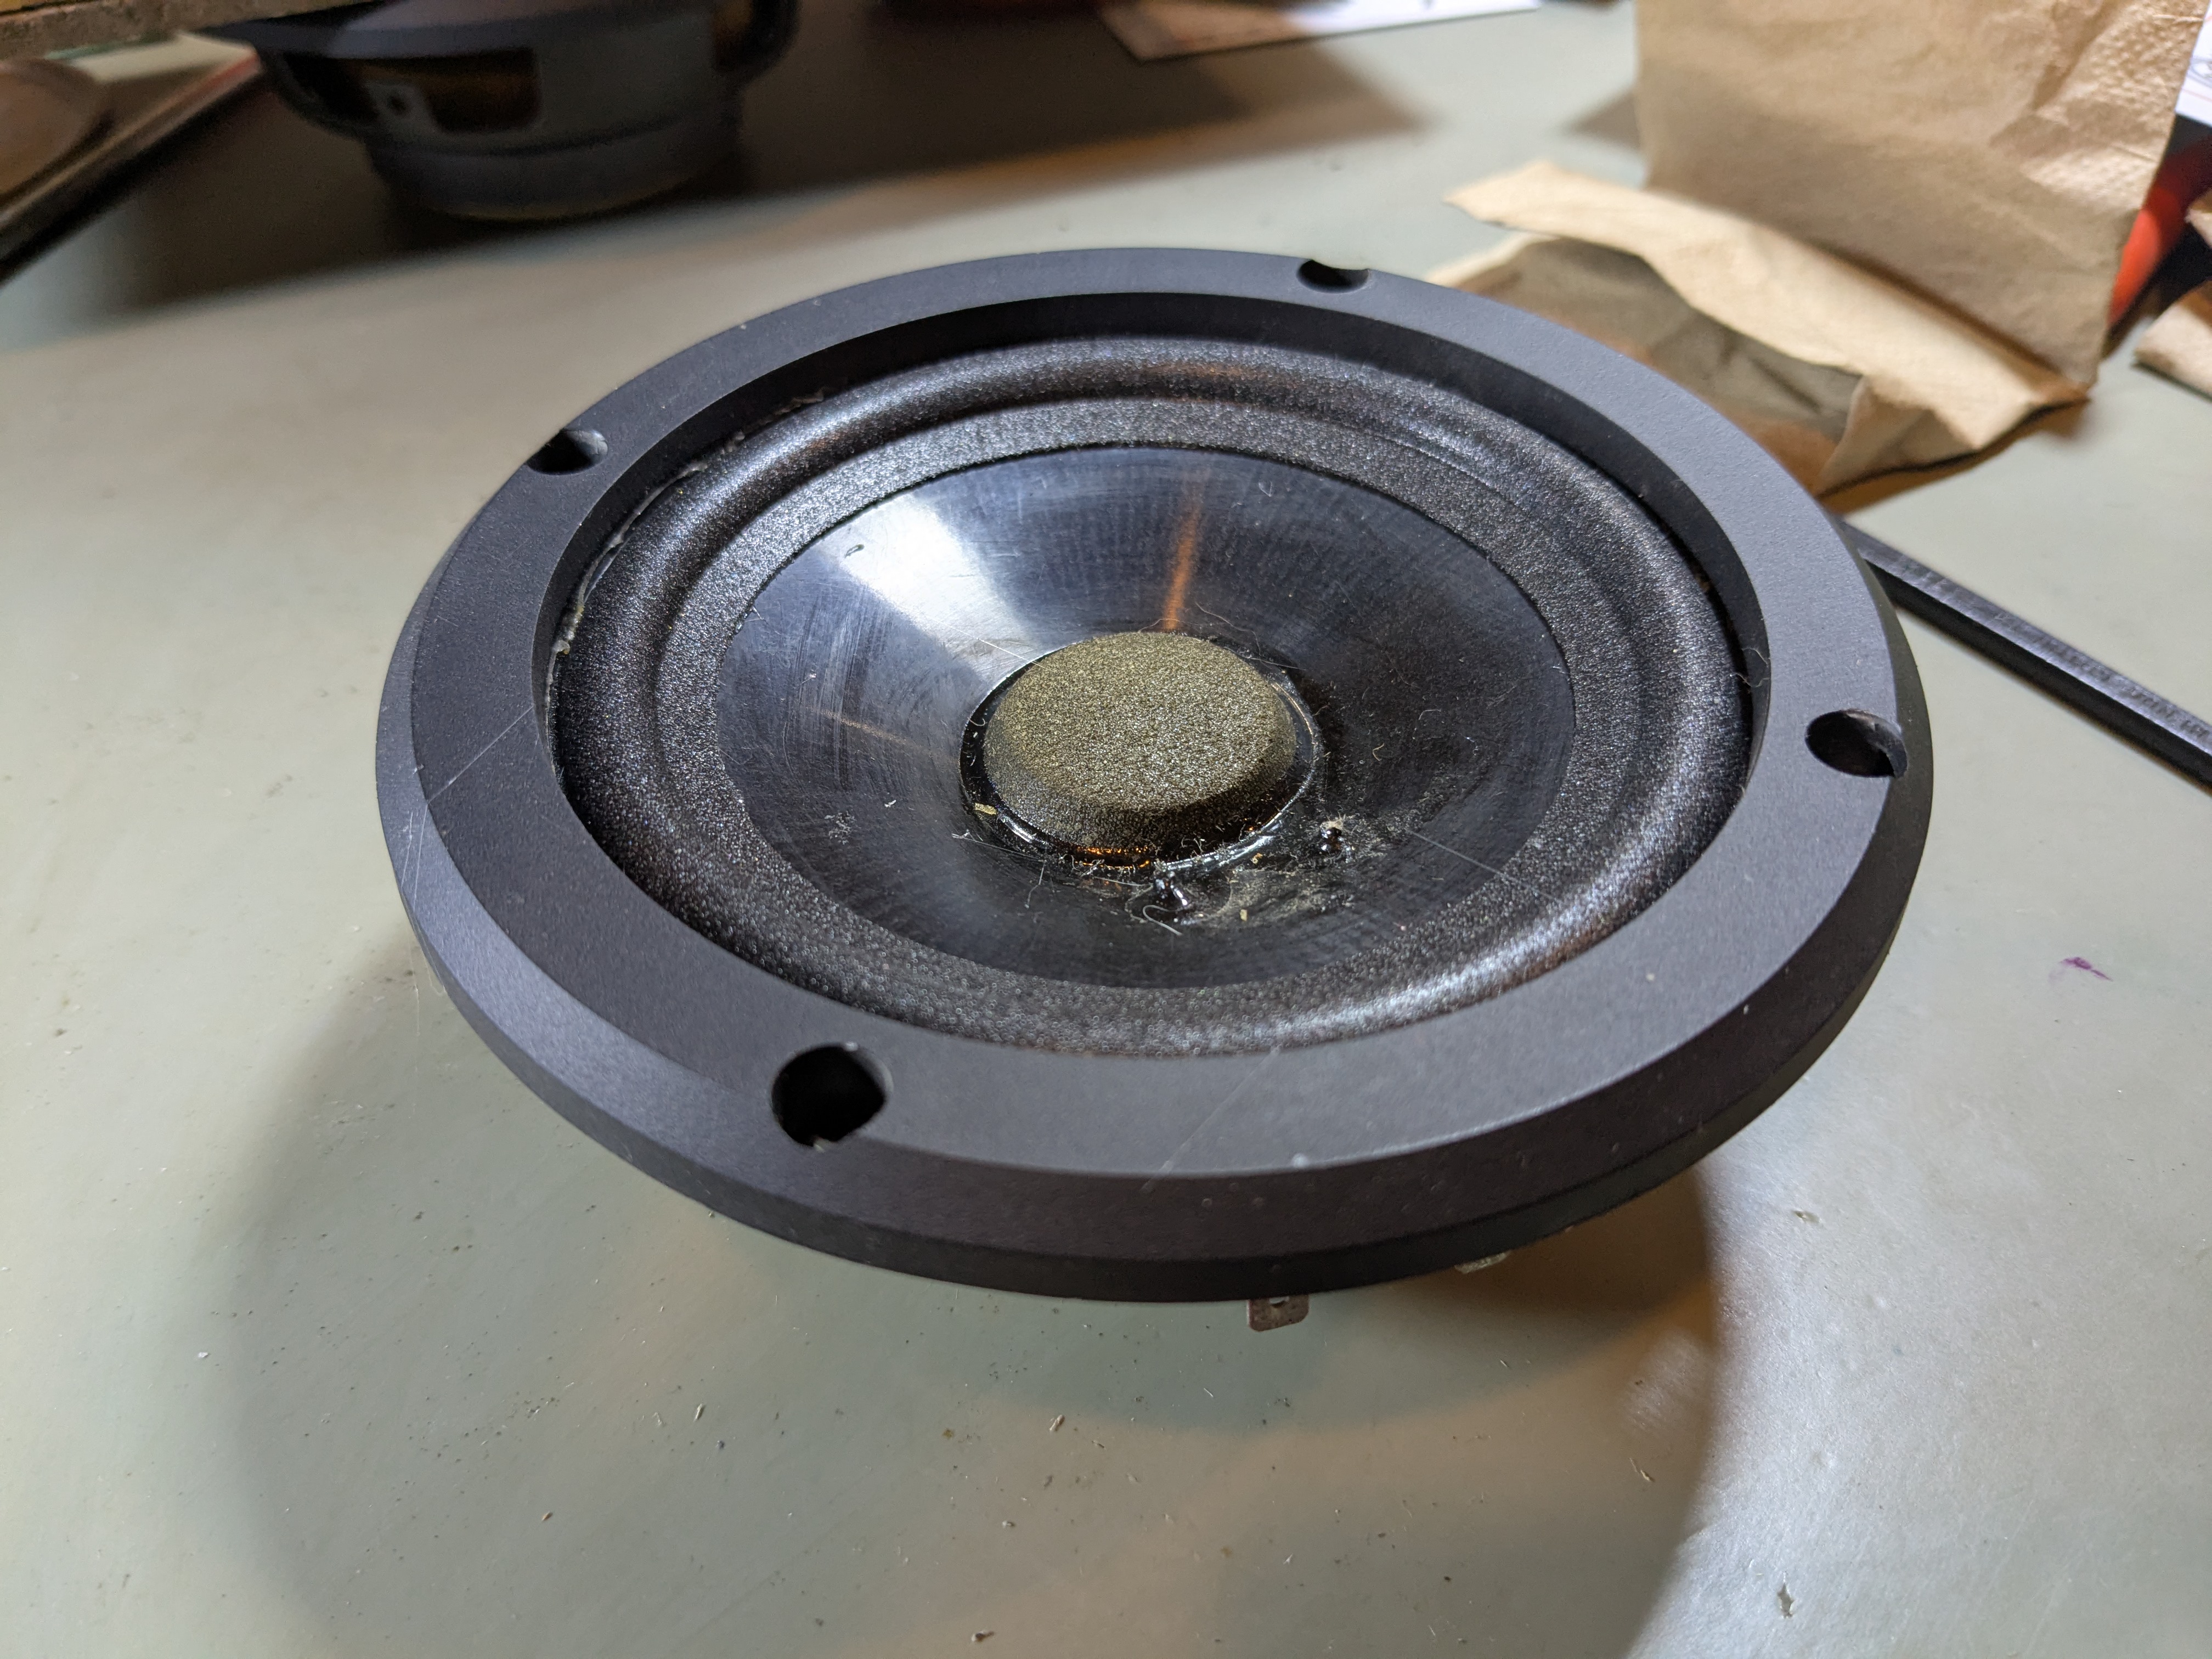
Just like a bought one! (You need to imagine this being said with an Australian accent.)
Step 6: Reassembly
After giving the glue attaching the surrounds to the metal frames time to dry, I reassembled the speakers.
I decided not to glue the drivers to the enclosures. I can always revisit this decision later if I want to. I have no idea how necessary this is.
End result:
Not a bad looking pair of speakers!
How do they sound?
So, after all of this effort, how do they sound? First, let me say that I’m not an audiophile. My stereo system consists of
- A Fosi Audio V 1.0G amplifier
- Panasonic DVD-S27 DVD player which I use to play CDs
- A Pioneer CT-W208R tape deck (scored previously from the same Salvation Army store as the one I bought the RS 1001s from!)
In addition to playing music, this system also serves as the sound system for our TV. There’s a passive A/V selector switch so that we can choose the input source as needed.
The Fosi Audio V 1.0G replaced an Optimus SA 155. (Like I said, I’m not an audiophile.) I actually like the SA 155 quite a bit, but it’s a bit underpowered, and I’m not crazy about the fact that the internal transformer is energized even when the power switch is off. The modern class-D amplifiers like the Fosi Audio one we have are pretty awesome, IMO.
The current speakers I’m using are a pair of Realistic Minimus 7s. Personally, I think the Minimus 7s sound quite good, and they are more than adequate for what we use them for. (Did I mention that I’m not an audiophile?) So, anyway, that’s what the RS 1001s are up against.
For our test, we will need some music:

The verdict: the RS 1001s sound pretty good! I think they produce a bit more bass than the Minimus 7s, which isn’t too surprising since the RS 1001s have slightly larger drivers and have significantly beefier enclosures. There’s definitely plenty of “oomph”. Listening to “Watcher of the Skies”, all of the instruments and the vocals were clear. I turned up the volume to the point where it was just on the verge of annoying everyone else in the house, and I didn’t hear any audible distortion.
Conclusions
For the approximately 35 bucks I invested (5 for the speakers and about 30 for the refoam kit), I’m very satisfied. I would consider refoaming speakers in the future if I find a pair that seems worth reviving.
blog comments powered by Disqus